This post may contain affiliate links, which means I get a small percentage of the sale at no extra cost to you. I only recommend items I love and have had a positive experience with. Thank you!
Need help getting started on a room makeover? My room makeover step-by-step guide will help you know just what to do to achieve a beautiful result on any project.
One thing I’ve learned from experience is that a good room makeover starts with a good plan. Not planning, or skipping steps in the planning process often leads to regrets (ask me how I know 😉 ). To make the most of your time and money, it helps to know what result you want to achieve and exactly how to get there.
I was recently asked for some step-by-step bedroom design help from my niece, which got me thinking – how do you design or makeover a room from start to finish?

I mean – I know how to makeover or design a room, I’ve been doing it for years. We even designed our own pole barn home from scratch. I just never thought about breaking the design process down and putting it on paper until my niece requested it.
So, for my sweet niece and anybody else out there wondering how to begin and proceed with a room makeover – this one is for you! I’ll guide you through each step of my design/makeover process to explain the what and why behind everything I do.
By following this simple makeover process guide, you’ll find that it’s easier and more fun than you imagined to create gorgeous spaces. You don’t need to be an interior designer and you don’t need fancy equipment or technical knowledge. Anyone (yes, even you!) can design a beautiful room.
Table of contents
1: Find Your Design Inspiration
The first step I always take when making over a room is gathering inspiration. My trusty Pinterest boards are my favorite way to do this, but it’s not the only option. Instagram, magazines, pictures from your favorite vacation – pretty much anything you can see will work for inspiration.
The picture below was taken from a historic church site and I find it very inspring. So simple, yet so much warmth.

What do you like? How do you want the room to feel? Are you in love with a certain aesthetic? Look for design ideas that speak to you.
If this will be a shared space, like a bedroom makeover, include the other people who will be using it to find ideas that you both love.
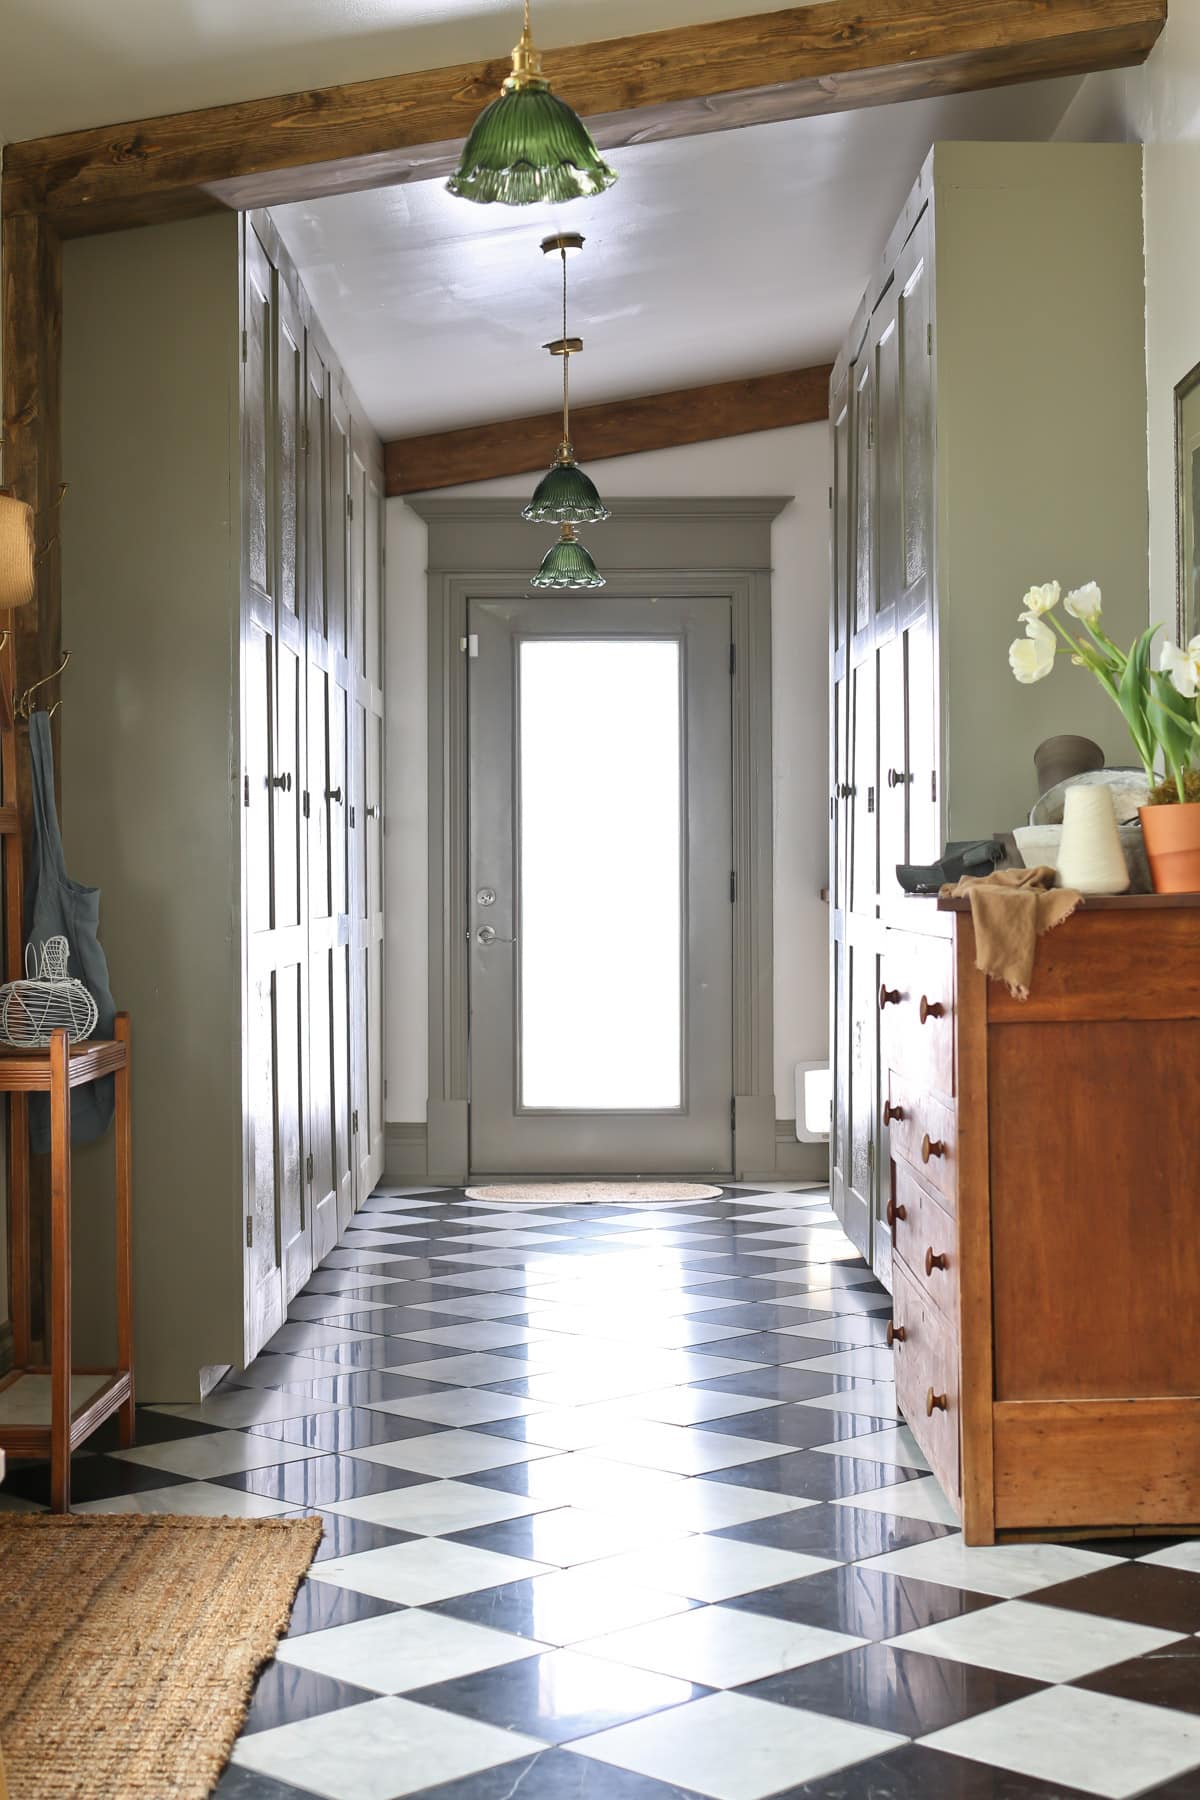
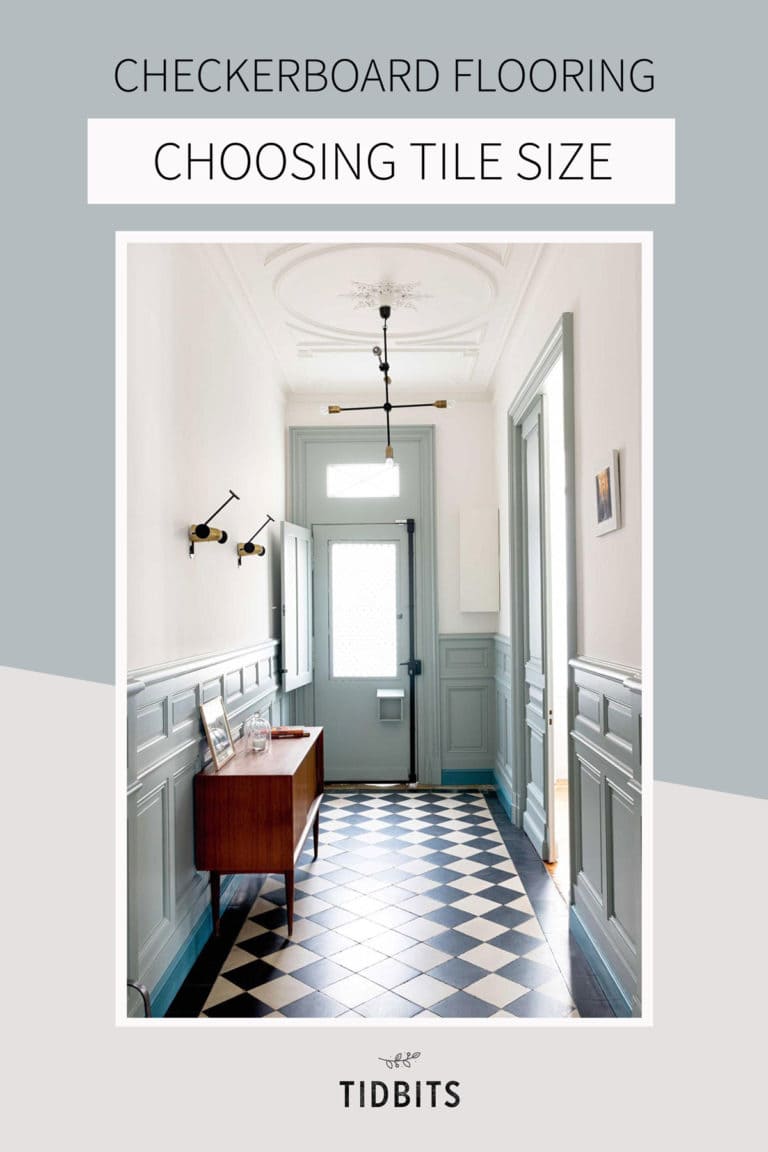
The image below helped inspire the mudroom design at our pole barn home.

Our finished space was very similar and featured the black and white checkerboard flooring that I so dearly love.
If you find yourself getting overwhelmed with too much inspiration, then stop. This process should be fun. It’s okay to limit yourself to just a few inspiring images. You don’t need to spend all summer pinning every darling chicken coop on Pinterest. A few of your favorite ideas will do.
2: Planning
Now, it’s time to start planning. Get things organized on paper. I’m talking about all the tasks, budgets, timelines – you know, the boring but essential stuff that goes into a room makeover. It’s the “how and when” that will make your project manageable and hopefully not overwhelming.
My favorite way to plan is with a free software program called Asana. It’s got lot of different organizational formats to choose from. Calendars, boards, lists, timelines, you can even add website links and pictures. It’s super helpful, especially for a big or collaborative project.
Read about using Asana or watch the video about planning projects with Asana for more details.

If you prefer a simpler approach, a notebook or paper, a word document, or a spreadsheet will also do the job just fine.
3: Visualize the Room
The next step is to visualize the room. You’ll want to be able to see all of your design decisions together to make sure that they’re going to look fabulous in real life.
I often try to skip this step, thinking that I can just picture everything in my head, but I always regret it when I do that. Being able to see the big picture before starting is so helpful.
Sometimes the things you thought would look great together just don’t work. This is the time to figure those details out before you start purchasing items.
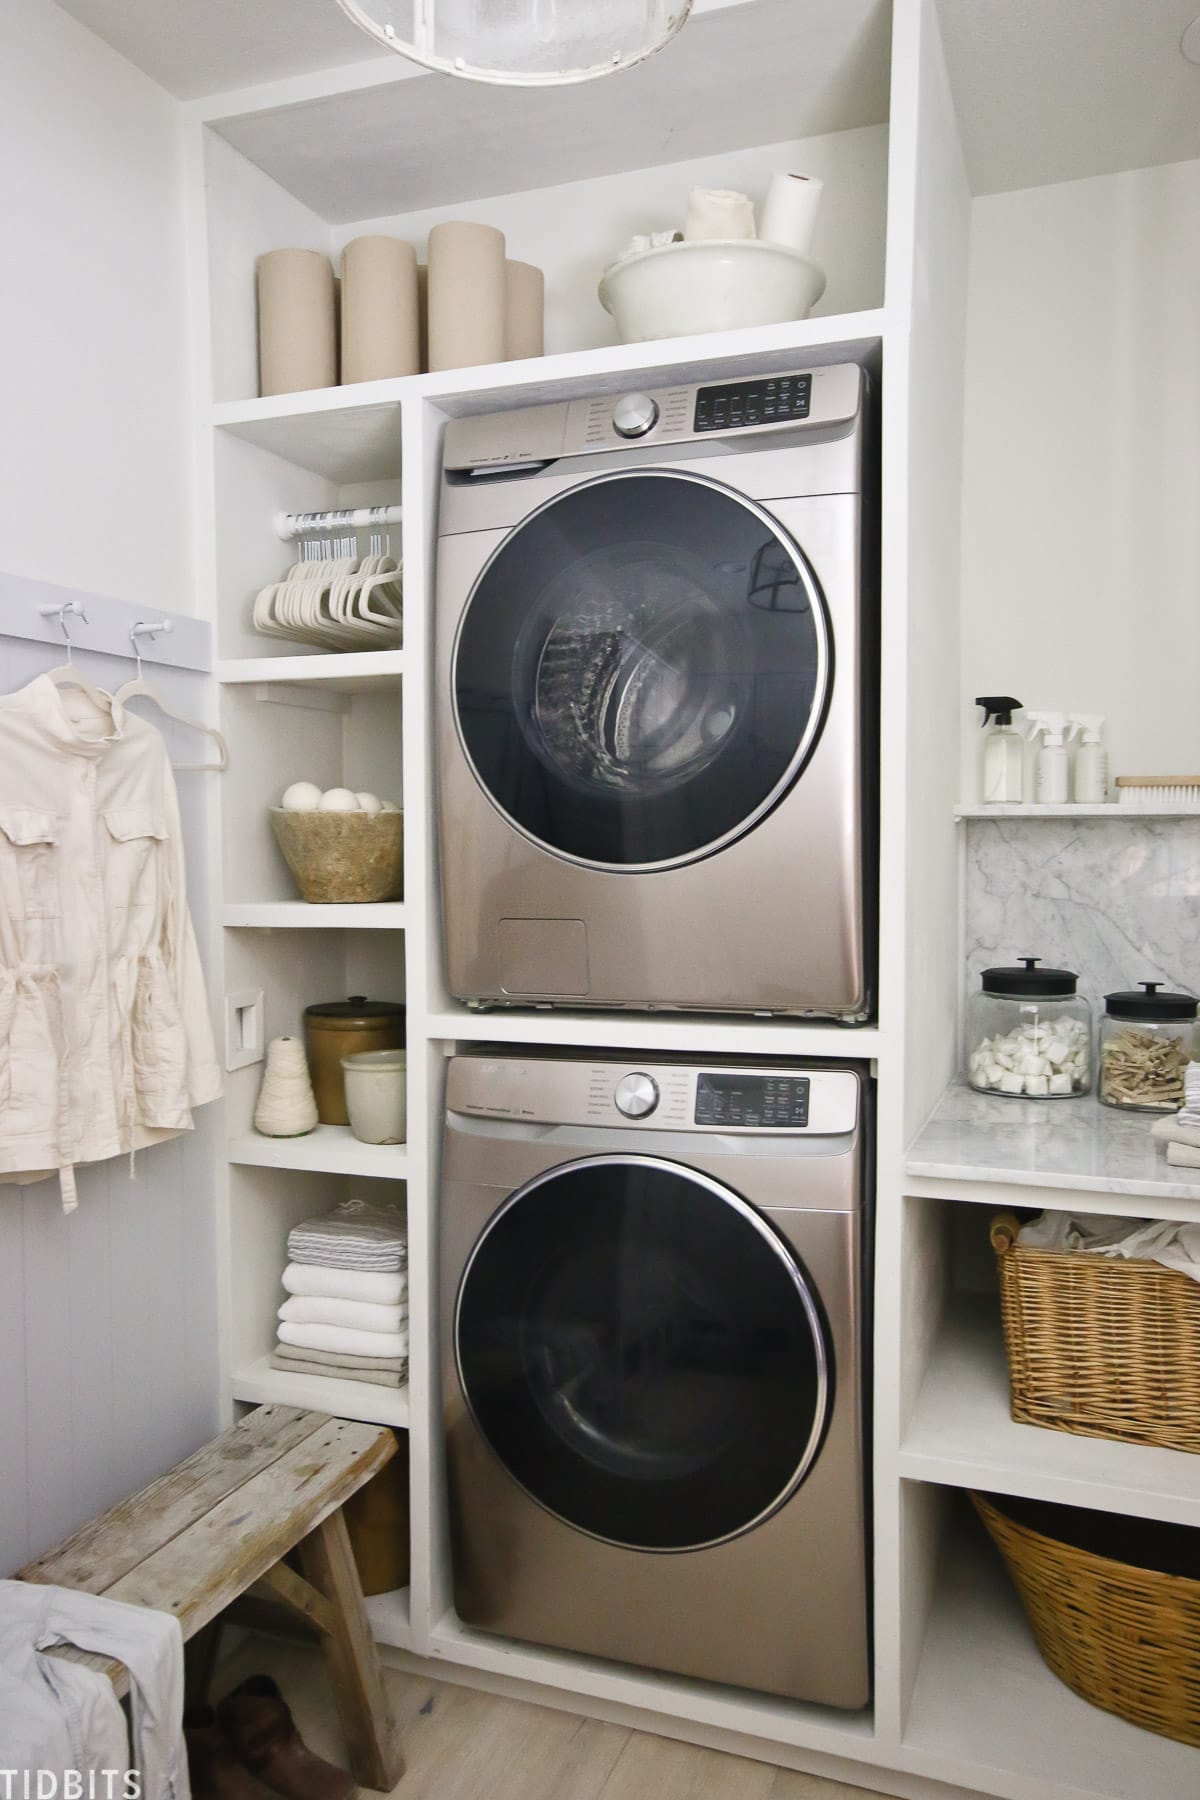
Below is the design mood board I created for our European inspired laundry room along with our finished laundry room.

You can click here to read about how to create digital interior design mood boards or to watch the video of how to create mood boards.
Lately I’ve been using Canva to design mood boards, which is quick and easy to do. If you’re not interested in getting too technical, you can keep it as simple as some screen shots pasted onto a blank Word document. Use whatever method works for you.
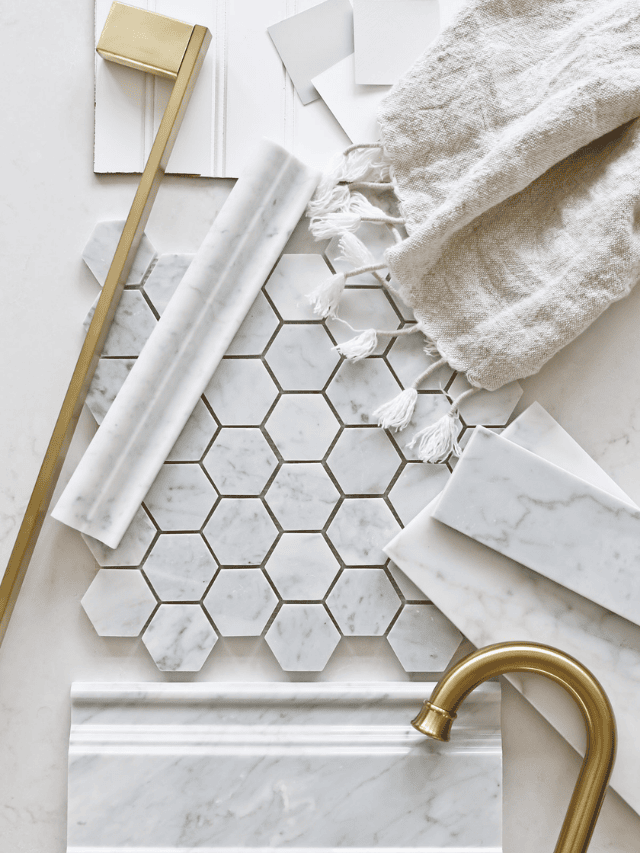
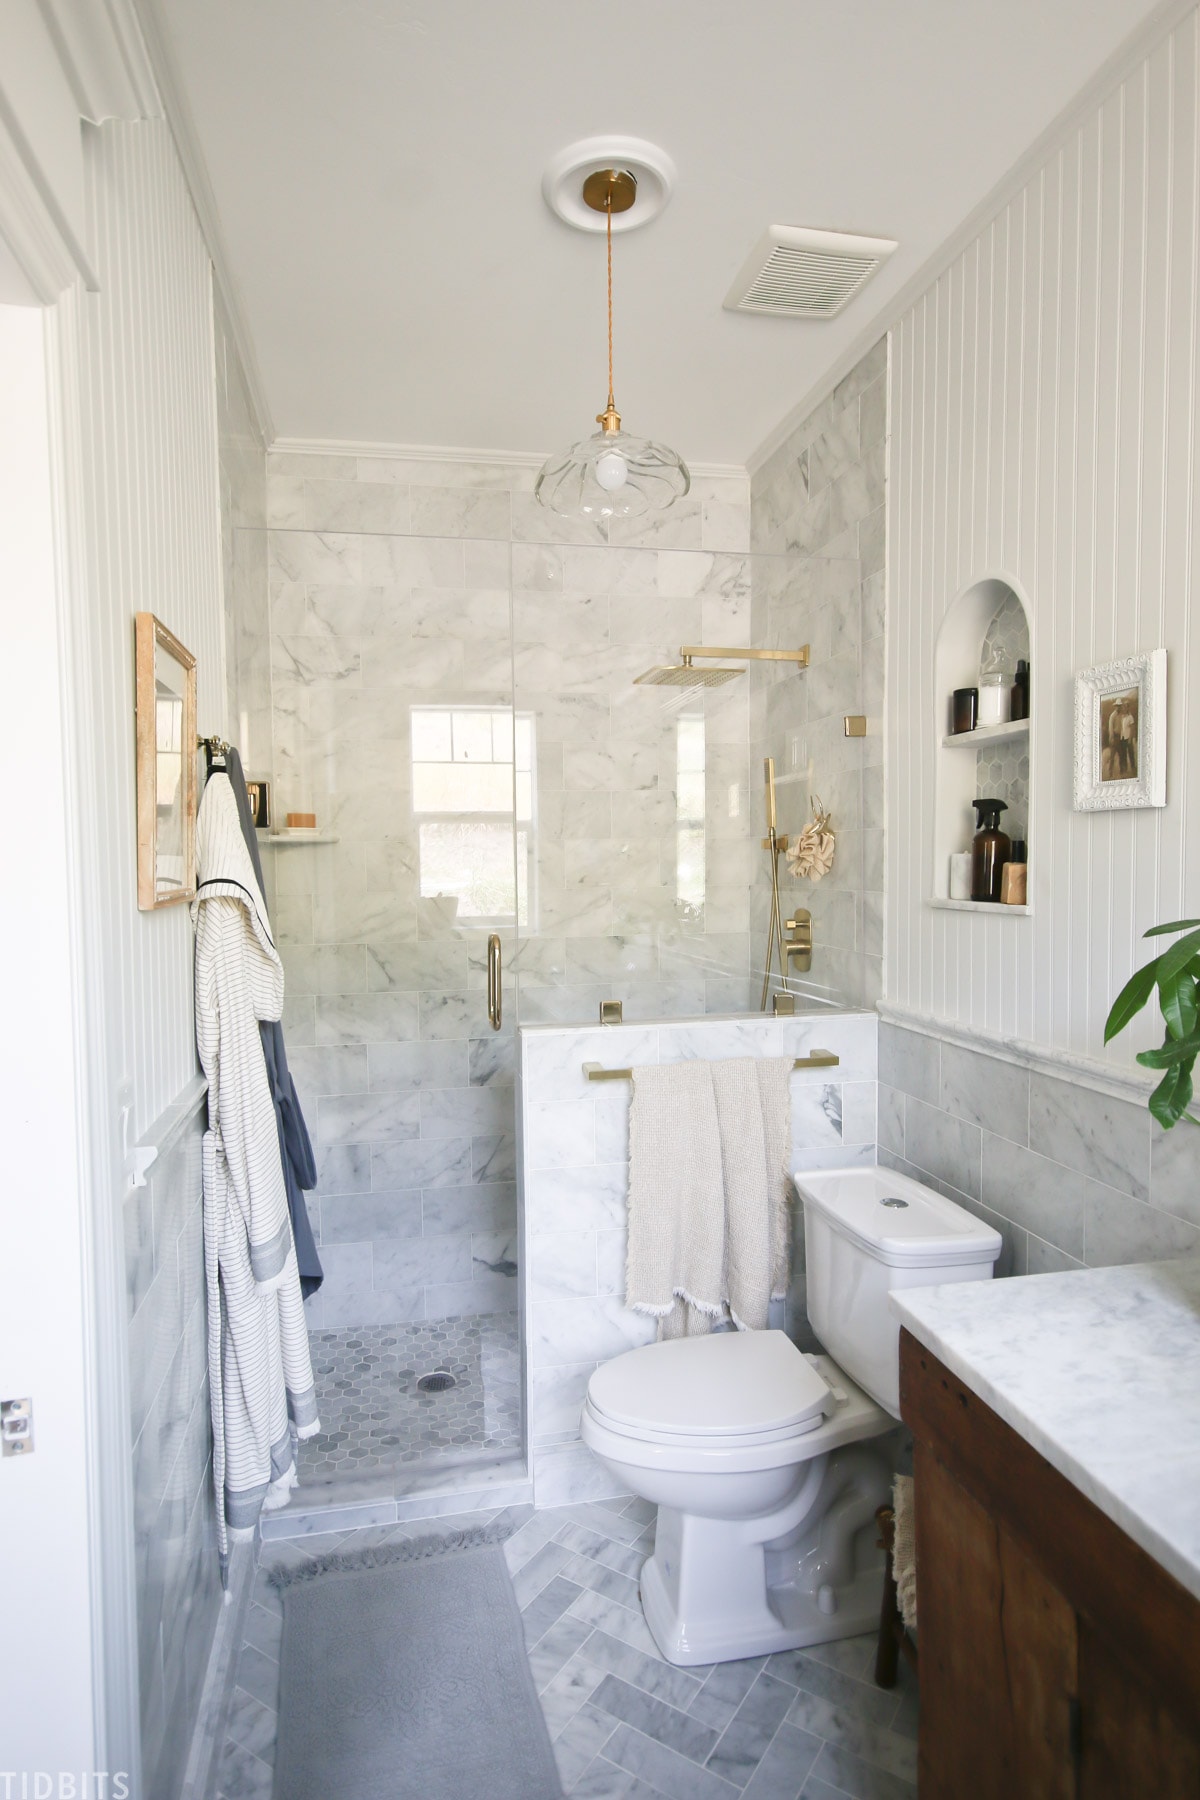
If you like something a little more tangible than pictures, samples are another great way to help you visualize a room. We used samples when designing the master bathroom of our pole barn home.
4: Source Products
Another important part of a room makeover is sourcing products. You’re not buying anything yet, but rather gathering sources and prices so that you’ll be ready when that time comes. This step can often be done right along with step 3, which was visualizing the room.
Consider items you already have and want to use. This can help you cut down on those dreaded impulse purchases and regrets. You may find that you don’t need any new furniture at all, you just need to think about using it differently.
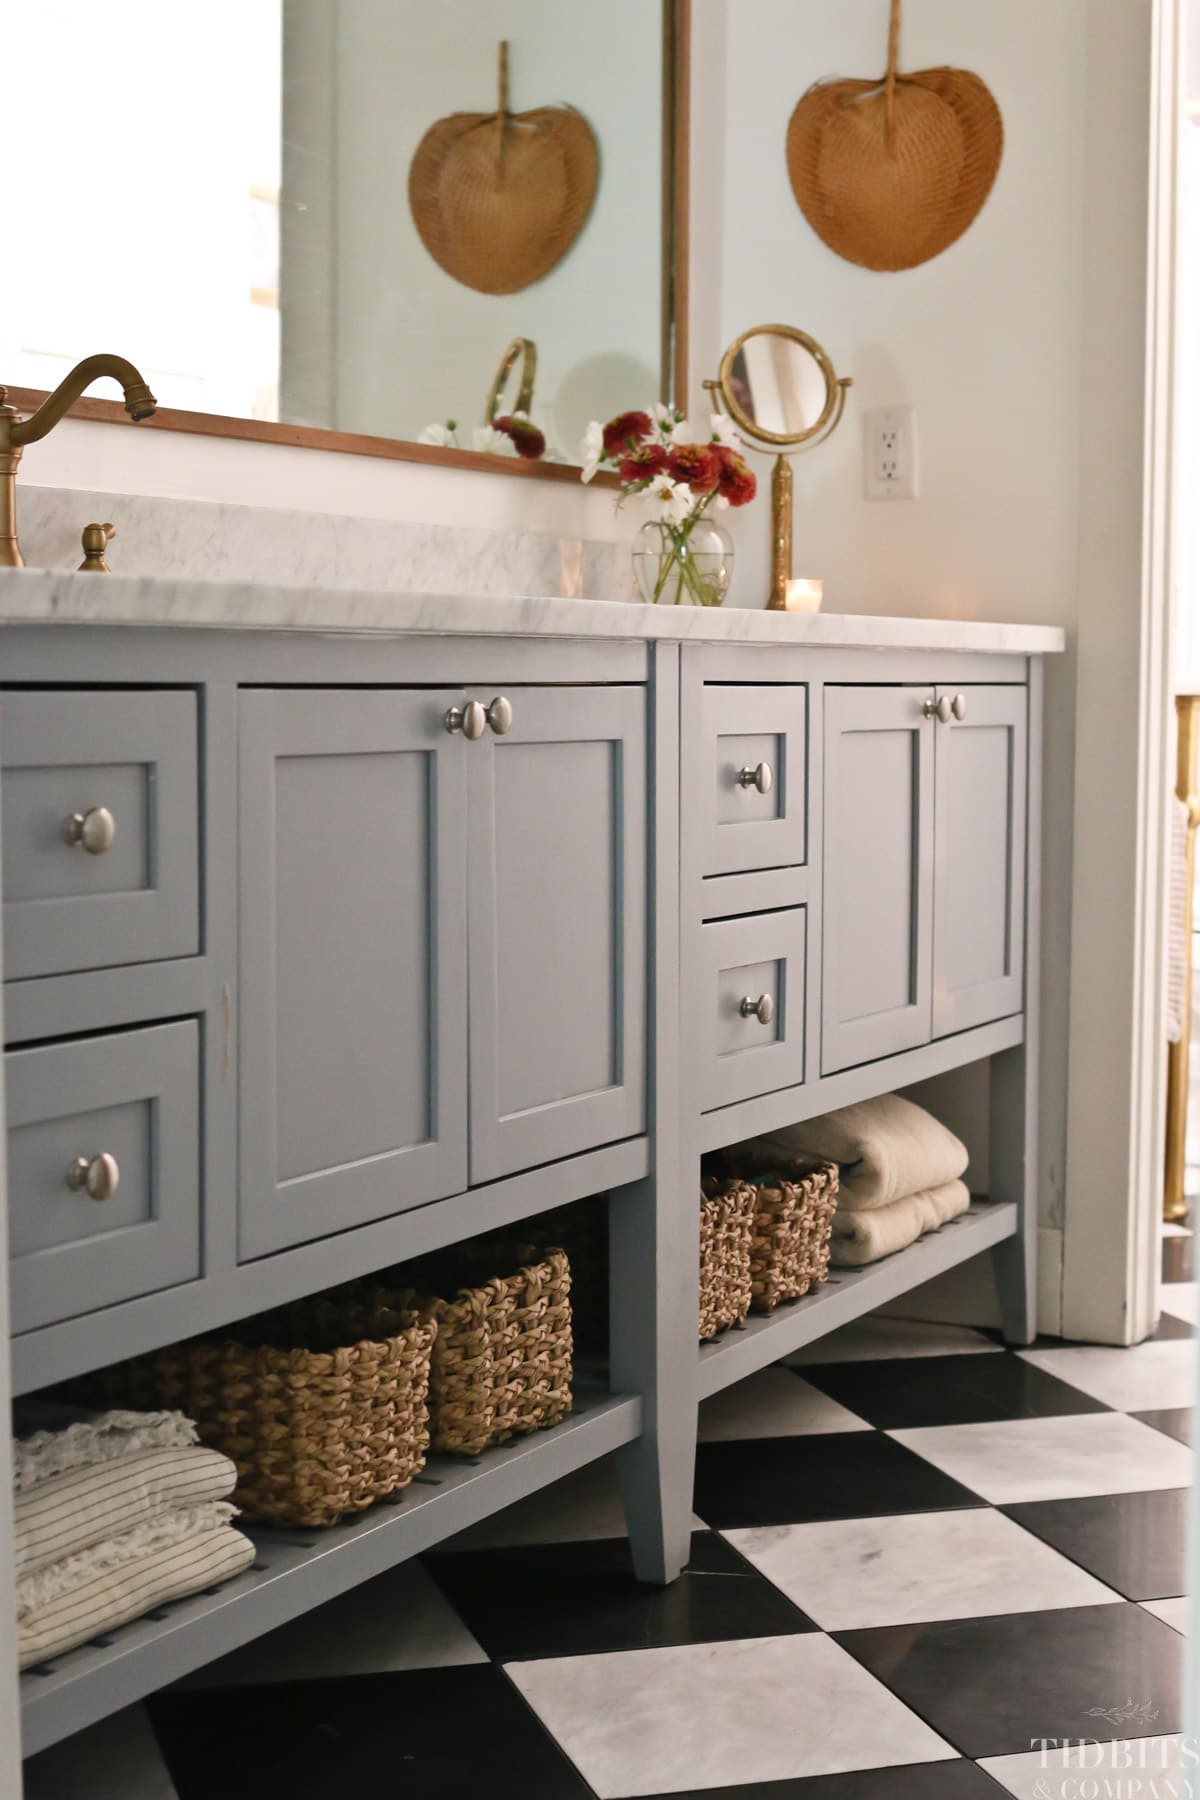
For example, the large vanity you see in our old home’s split bathroom was made by putting two standard vanities together with a single DIY honed marble countertop.
5: Buy Products
Next, it’s shopping time! I’m talking about big things here, not decor or accessories. Think more along the lines of main pieces of furniture, appliances, wallpaper, area rugs, window treatments etc.
If you start with the bigger items, the bones of the room, it makes adjusting for necessary changes much easier. For example, it’s pretty simple to change a throw pillow, but a sofa is not so simple.

I like to purchase important items in order of arrival to make sure that I always have the necessary products at the right time. The one exceptions would be things like throw blankets, pillows, linens, etc. because these items are easy to return or swap out.
6: Take Everything Out of the Room
The next step isn’t always my favorite, but doing it can make a huge difference in a room makeover. I’m talking about taking everything out of the space so that you have a clean slate, a blank canvas. Clear the clutter and start from the beginning.
I hate/love doing this. Hate the work, but love all the possibilities that open up once I get rid of what I’m used to and start thinking about what I can do. This is especially helpful in rooms that are multi purpose or that need lots of organization, like our old home school room.

7: Construction – Walls and Floors
Not all room makeover projects will require flooring, trim or wall painting, but if your project does then this is the time to do it. Get those room colors nailed down. Try lots of samples. Your wall treatments, colors and flooring lay the foundation for the rest of the room.
Do you love a good accent wall? Natural tones or vibrant hues? This part is all about the feel of your room.
This throw back picture of our first home shows how impactful flooring, wall treatments and color choices can be.

8: Furnishings and Fixtures
The next step is something I like to think of as furnishings and fixtures. This would include things like light fixtures, door knobs, faucets, hardware and so forth.
Get all of those lovely fixtures installed before moving onto the next step.

9: Furniture Layout and Function
The next thing I like to do it try out different furniture placements. Where and how will everything fit?
Play around with your living room or bedroom furniture to see what arrangement will work best for you. You’ll want your space to look great and function well.
10: Organization
You’re so close to being done, but before you get to decorating take some time to get the organizational side of things buttoned up. Working areas, like kitchens, bathrooms and offices, usually need some organizational help.
What do you need the space to do? Do you need storage space for jewelry or makeup? Can you add a basket or drawer organizer to the nightstand? How about a bench for putting on shoes?
Get the important things organized before moving onto the last step.
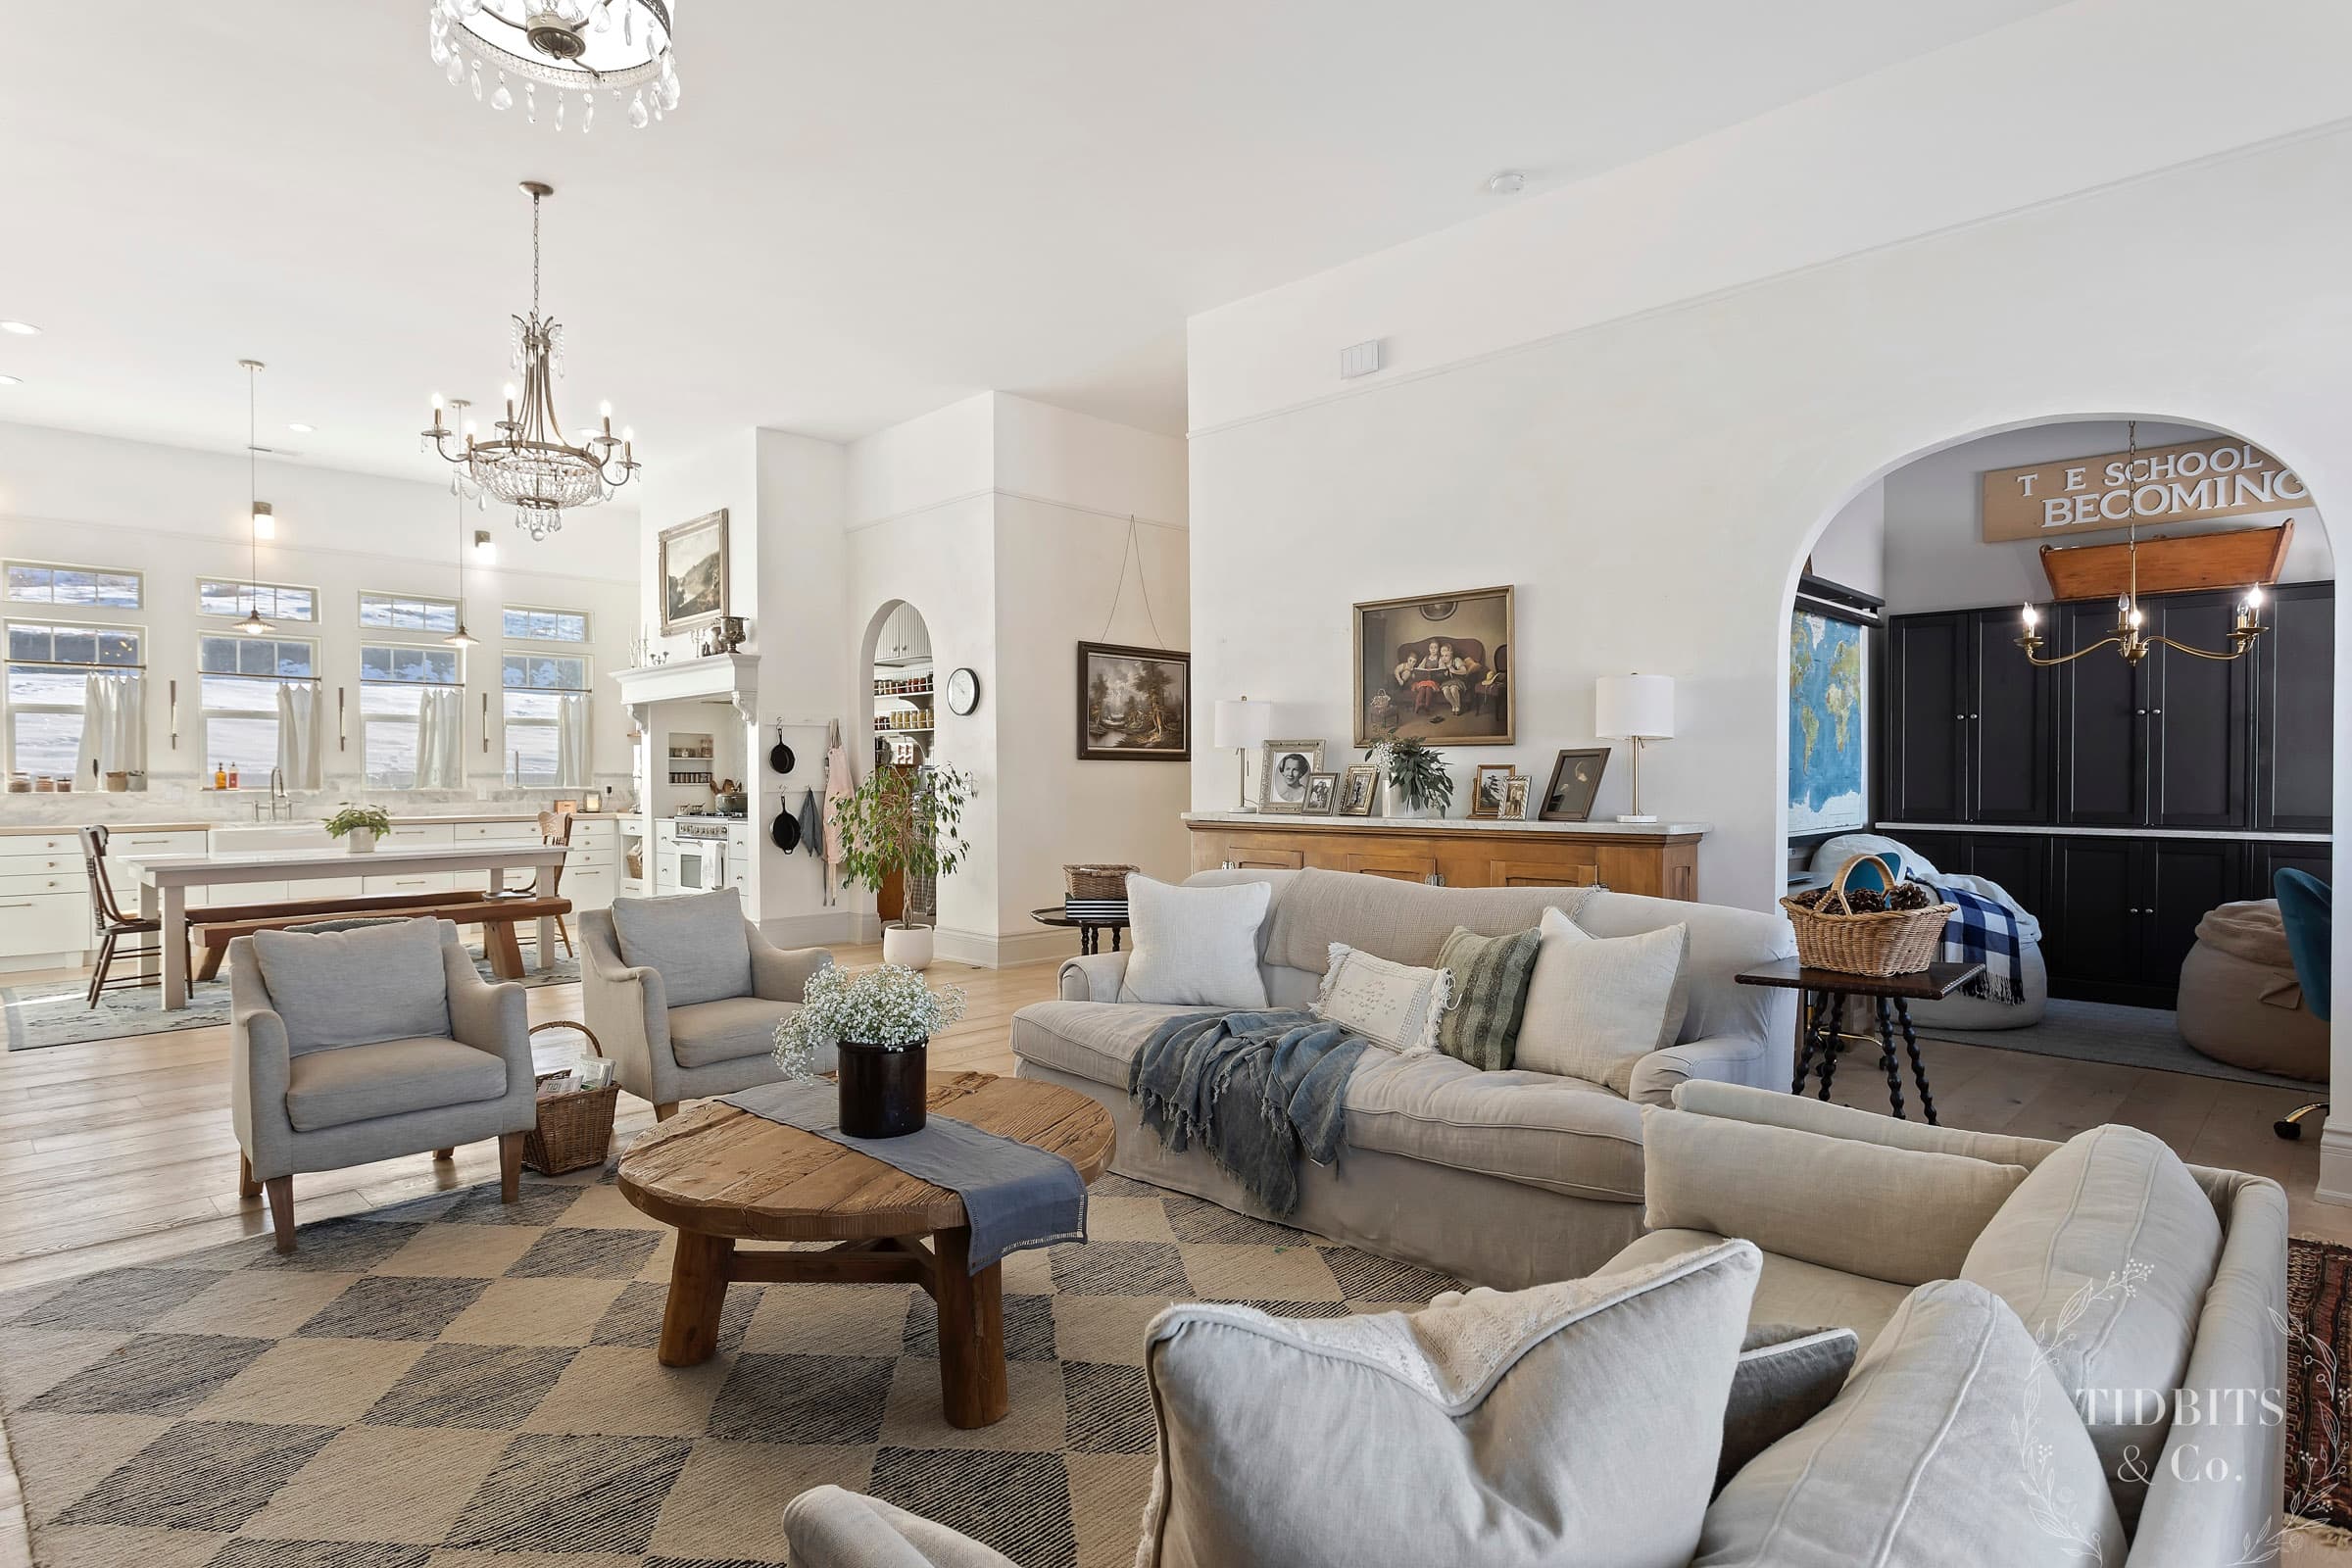
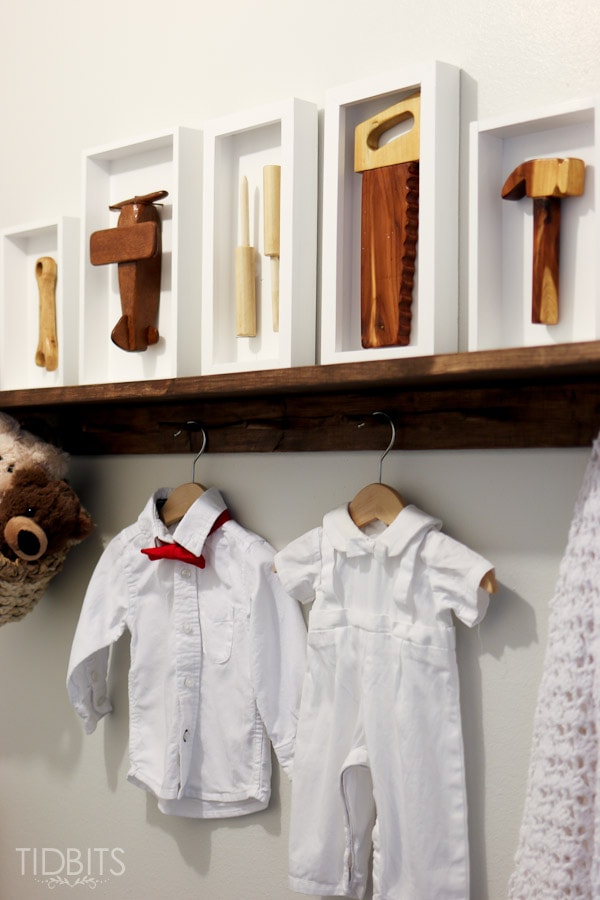
11: Decorate
Finally, it’s time to decorate. This is my favorite part! It’s the icing on the cake, but don’t underestimate what an impact room decor can have. The way you decorate can set a tone for the whole room. It’s often the first thing people will notice and want to ask you about when they visit your home.
Feel free to show some personality here – have fun with it! The artwork, photos, heir looms etc. that you choose to decorate with reflect who you are and what you love.
The chicken table lamp in my boy’s bedroom at the Lavender Blue Cottage is a perfect example of using decor to personalize a space.

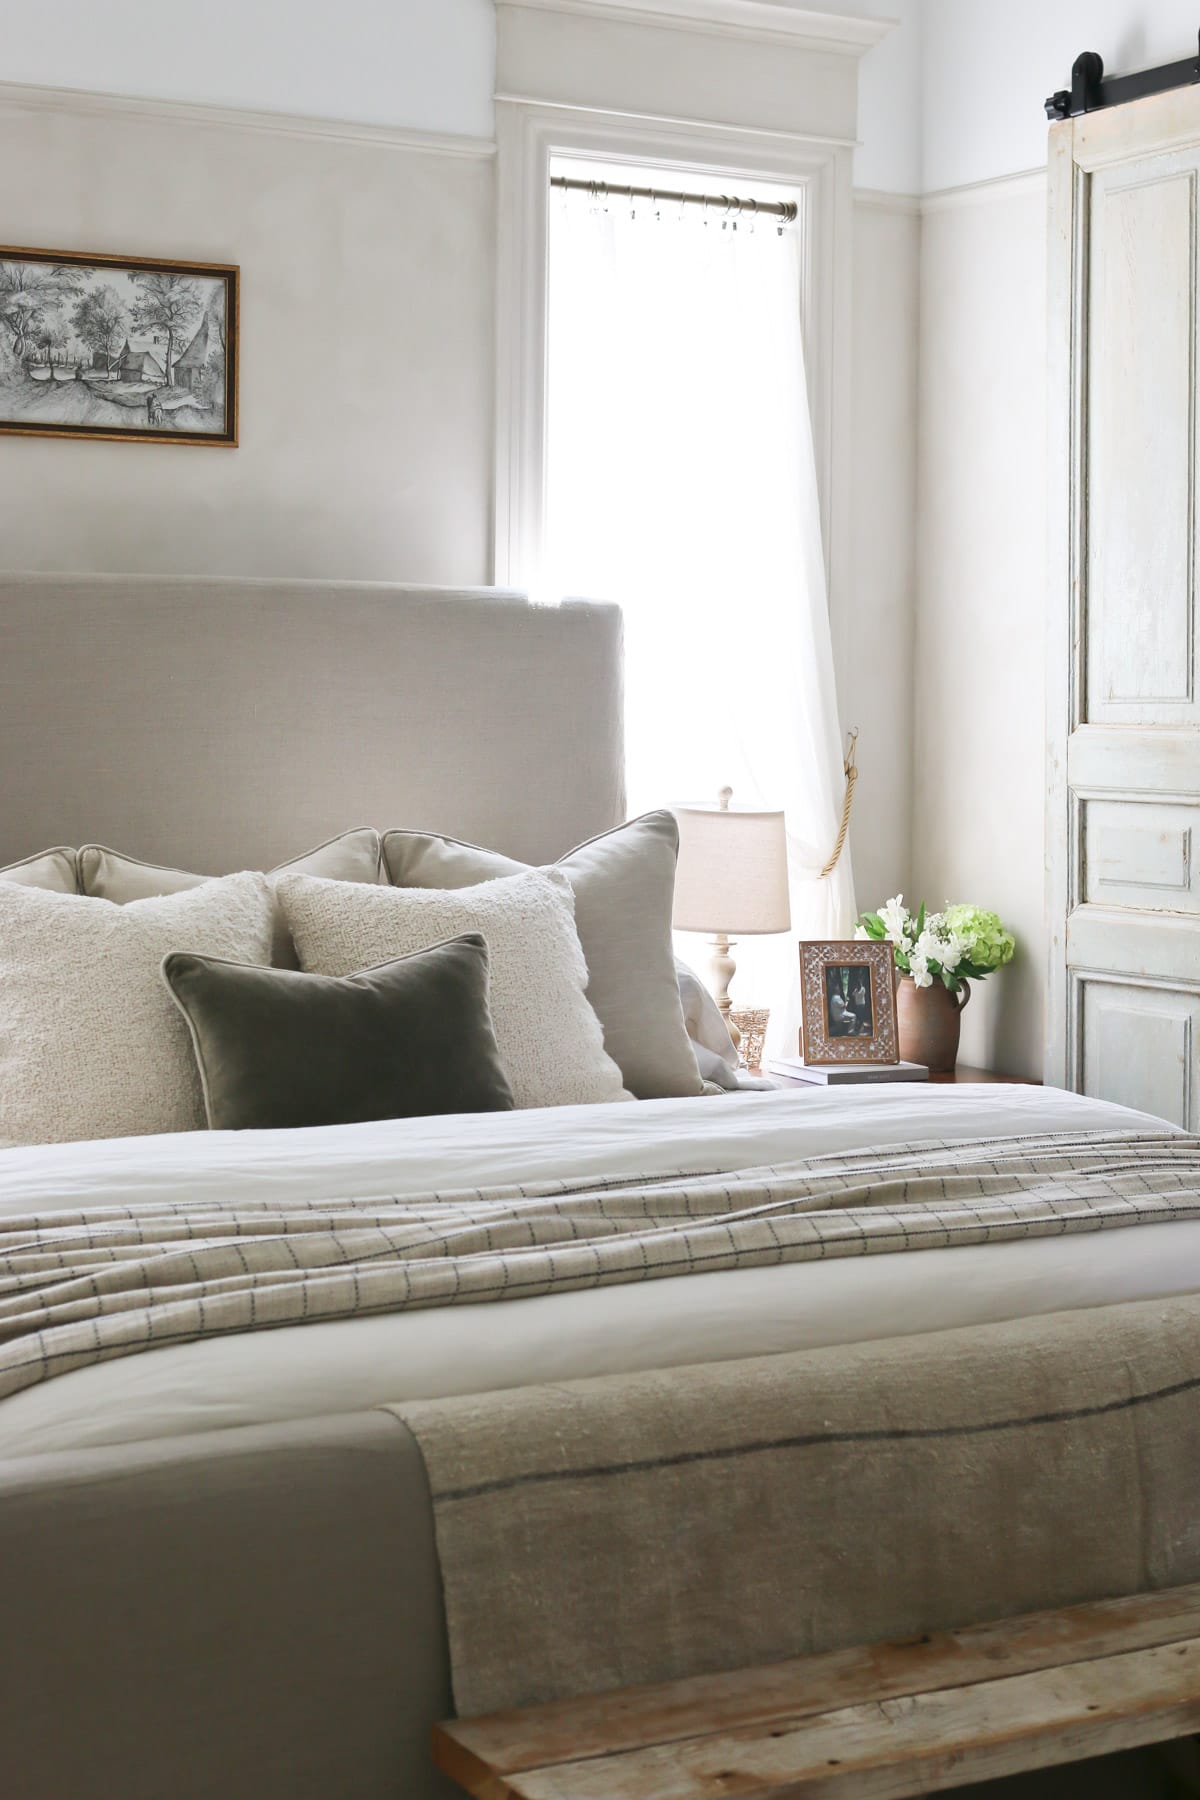
My favorite bedroom design to date is still my daughter’s cottage core bedroom from the pole barn house.
I loved all of it – the texture of the rug, the soft shades of pink, that chandelier. It was a beautiful bedroom.

Take your time with decorating and only use items that you love. Thrift stores and antique shops can be a great source for unique decor.
Remember to enjoy the journey and let your creativity shine!
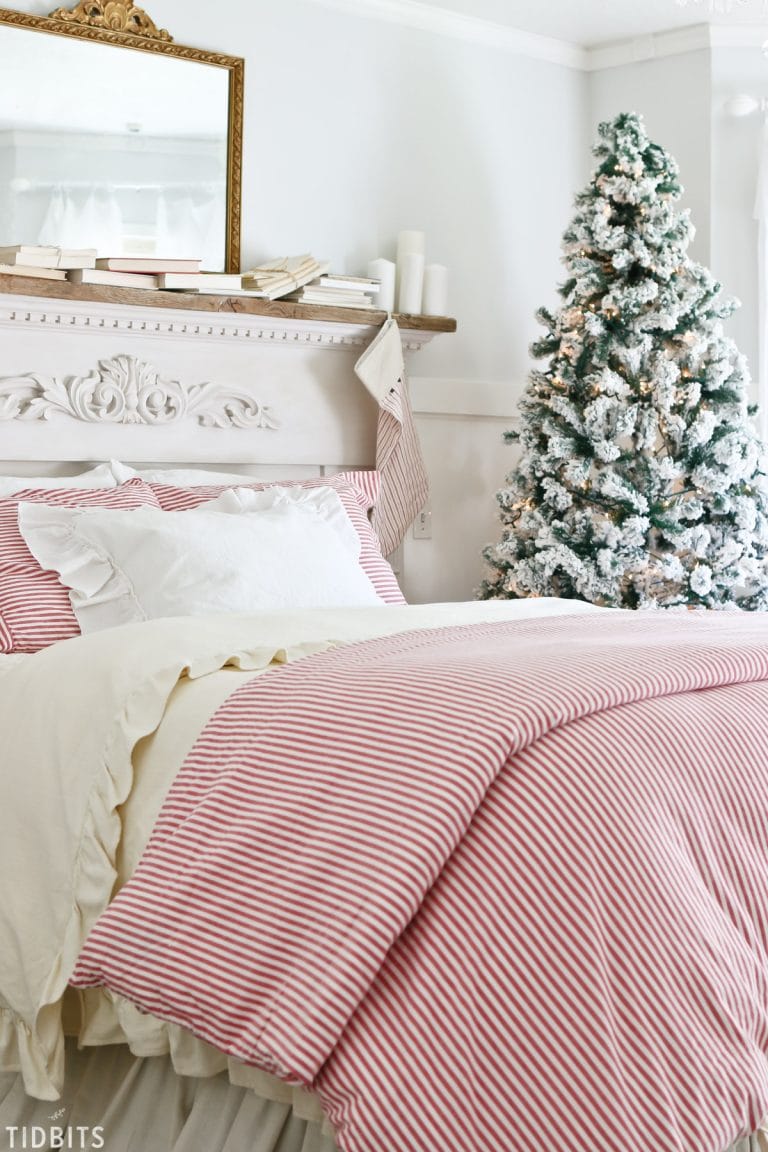
More Beautiful Room Makeover Ideas
Thanks for joining me to see my room makeover step by step process. I’m itching to start making over the rooms in our new, the Lavender Blue Cottage. Check back often for updates and progress! In the meantime, see some of my past room makeover projects.
If you’ve got design suggestions, feel free to share them in the comments section. Until next time, my friend!
- French Cottage Girls Bedroom Makeover
- Blue and White Girls Bedroom Makeover
- Deck Makeover Reveal Day!
- Home Office Makeover
- Hallway Makeover | Large Wall Art Ideas for Your Home
- Master Bedroom Makeover Reveal
- Little Girls Shared Bedroom – Small Space Makeover
- Entry Space Makeover
- Boys Bedroom Ideas that Grow with Them
- Small Bathroom Remodel Ideas – Learn from My Mistakes!
- An English Country Bedroom Inspired by a Picnic


Free Printables!
Get instant access to the TIDBITS subscriber library full of free printables for the keeper of the home.
Discover more TIDBITS
Love this article? Make sure to connect with me on your favorite social platform below, and leave a comment so we can chat!