This post may contain affiliate links, which means I get a small percentage of the sale at no extra cost to you. I only recommend items I love and have had a positive experience with. Thank you!
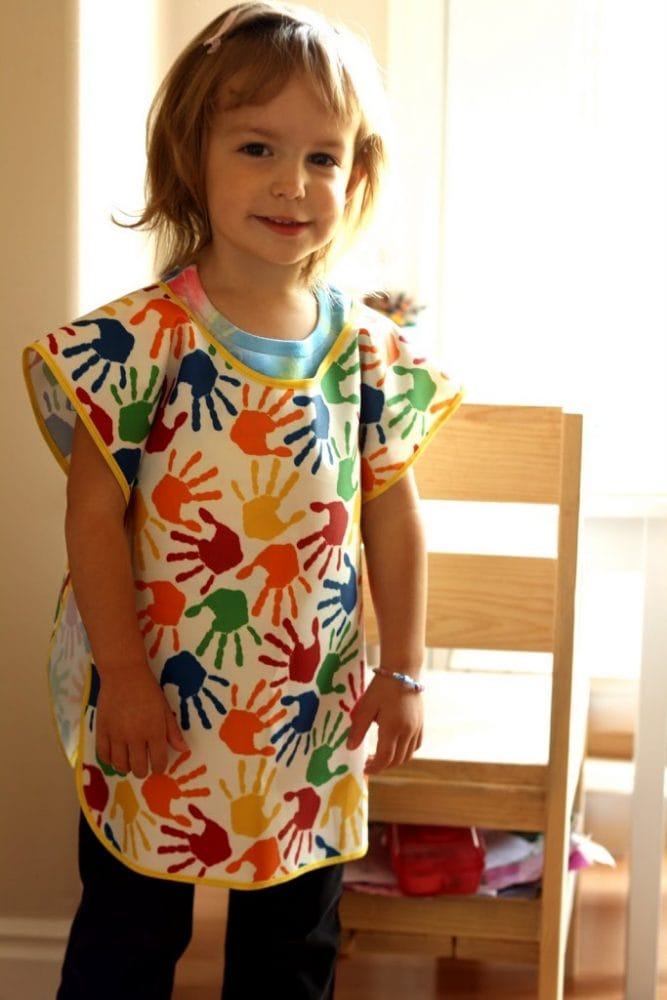
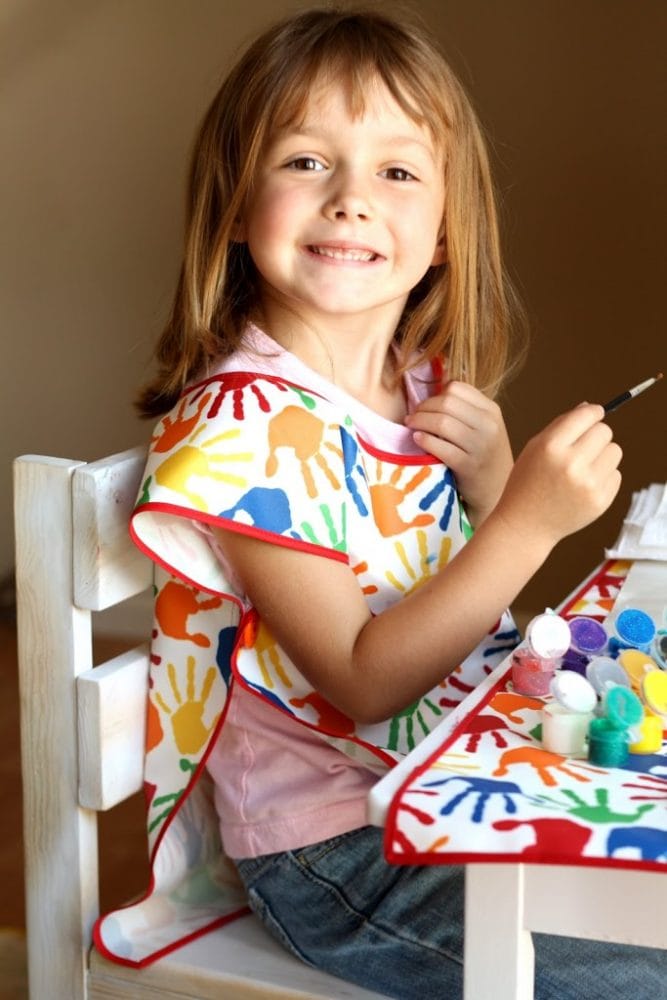
Keep your little artist and your home clean with a child’s art smock and mat. Complete this project in 3 easy steps!

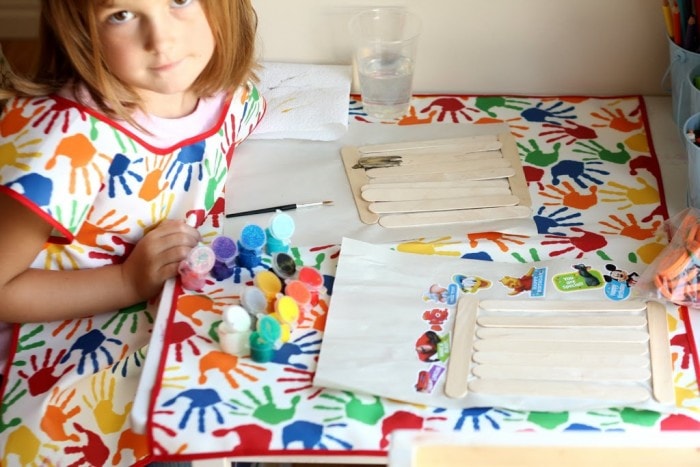
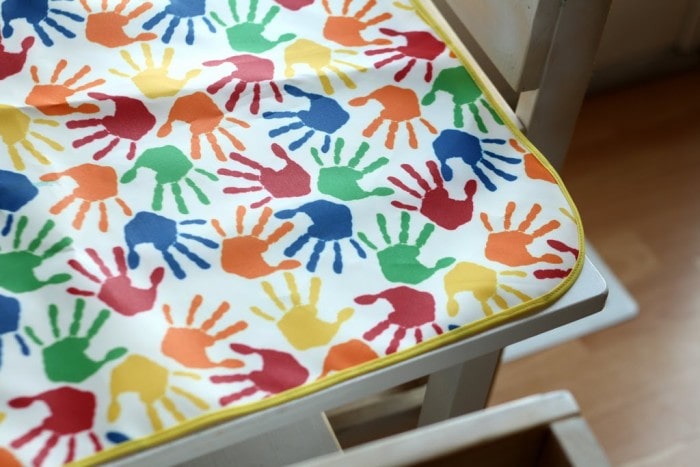
With the leftover fabric I had, I also made an art mat for them to cover the tables with. Much improved from the newspaper we used to lay down that would stick to the table like glue if any water or paint soaked it.
Believe me when I tell you that this art smock and mat are so easy, any beginner sewer can spit this project out in no time. Let me show you how I did it in 3 easy steps.
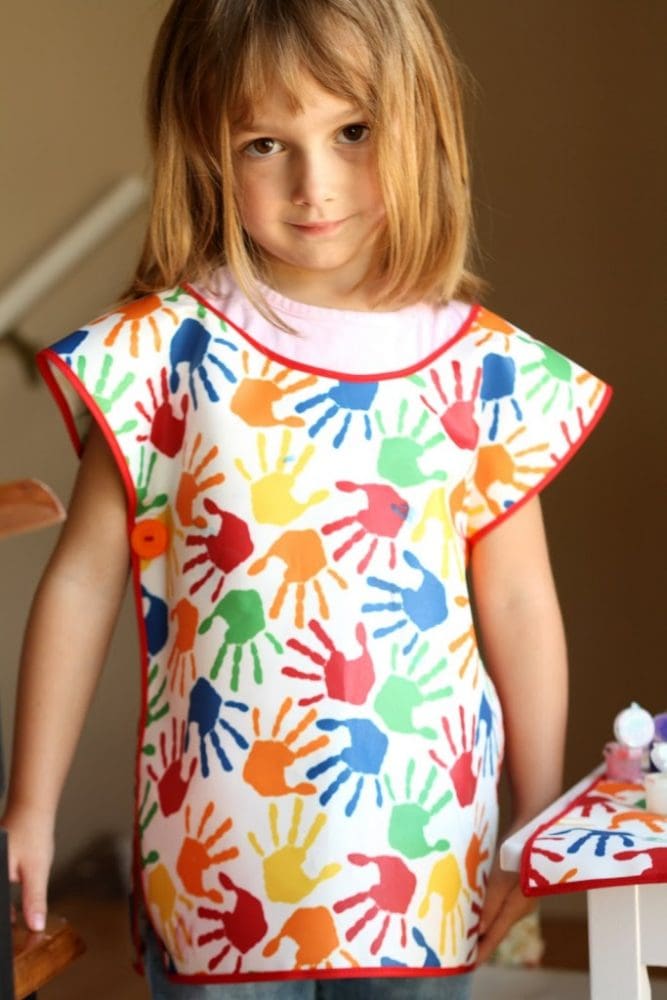
Table of contents
Supplies and Materials for a Child’s Art Smock and Mat
Before we begin, a little about the supplies.
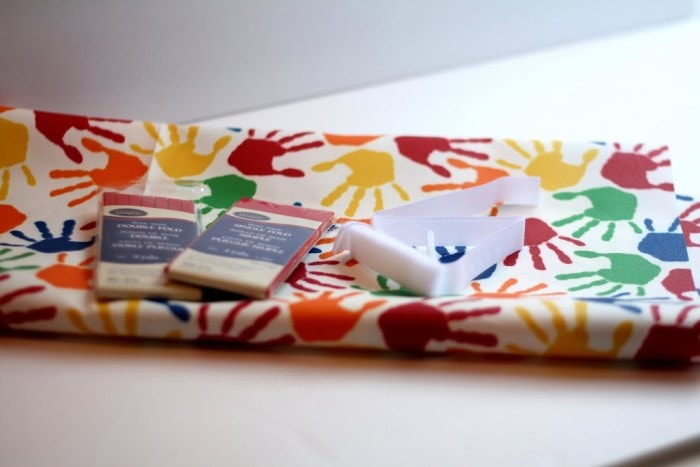
- 1 yard of oilcloth
- I picked up oilcloth from Joann’s. Oilcloth is similar to vinyl in that it has the ability to wipe right down, which makes it the perfect material to wear when creating any kind of art. Joann’s didn’t have a huge selection, but I thought this handprint fabric was perfect for the job. I neglected to check how wide the fabric was, but it must have been 90 inches, because I managed to make 2 art smocks and 2 mats with the one yard. Not bad!
- Double fold bias tape
- I bought the little stuff, 1/4 inch. If you are making a mat, buy 2 packages.
- Velcro
How to Cut Your Fabric for the Art Smock
Step 1: Cut
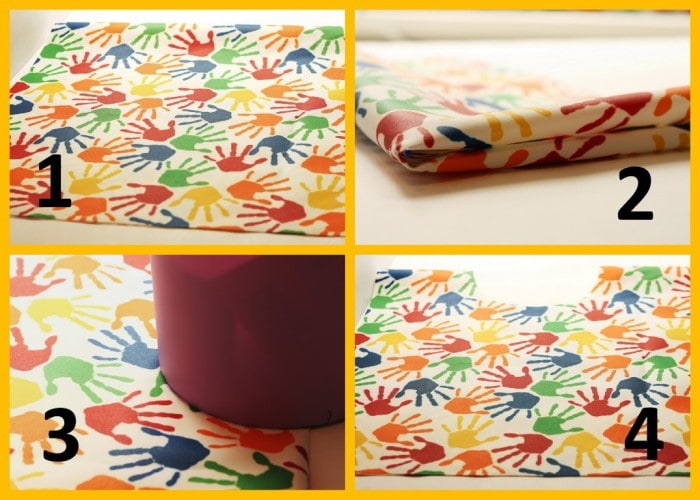
- You will need to cut a rectangle to the measurements of 34 x 15 inches. Adjust if you need to on length or width, but those are the numbers I used to fit my 3- and 5-year old’s. I imagine this size will fit most toddlers and young children.
- Fold in half lengthwise, and then fold in half widthwise. Mark the center of the smock with a pin.
- Open it back up, (just the width-wise fold). Find something round you can use to trace the neck hole. In my case, I found the bottom of a garbage can that looked like it could serve me well. You need to have your hold large enough to slip over your child’s head with ease. Test on scrap fabric if needed. Place half of your circular item in the center of your smock, on the fold, and trace.
- Cut on your markings. You now have the shape of your smock.
Before I continue, if you want to avoid corners, use that same rounded item and round out the bottom corners also. Your results will be as shown below. I did prefer this method when it came binding time.
How to Add Binding to Your Child’s Art Smock
Step 2: Bind

- If you will notice on your store-bought binding, one side is ever so slightly not as wide as the other. Place the smaller side up, so then you always know you are stitching the back as well. Start anywhere on your smock – anywhere except a corner. Put the binding in place as you sew along. Also, be sure to increase your stitch length a bit. This gives a more professional top stitching look.
- When you get to corners, angle them and simply stitch right over.
- When your ends meet up, clip on an angle and fold the raw edge inside.
- Stitch and back-stitch closed.
Don’t forget to bind the neckline as well.
At this point, your smock should look something like this.

How to Add a Closure
Step 3: Closure
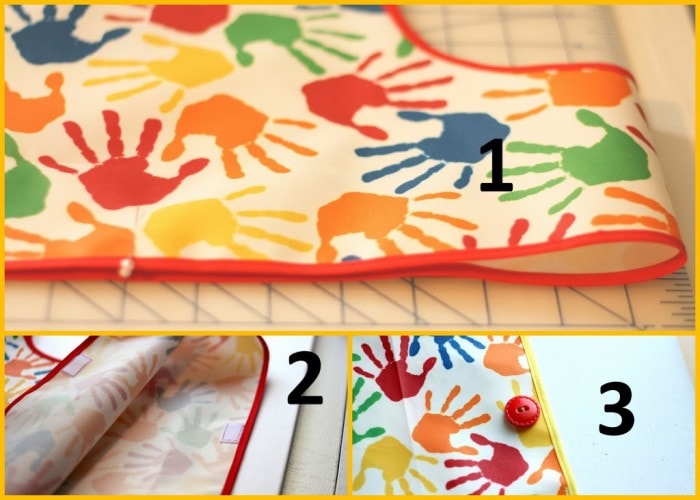
- From the folded top, measure 8 inches down. Pin on both sides to mark those 8 inches.
- Place a small piece of Velcro under each pin and stitch in on securely. Do this for both the left and right sides of the smock.
- You could stop there but I decided to sew on a button to cover the Velcro stitches on the outside. The button is purely for looks.
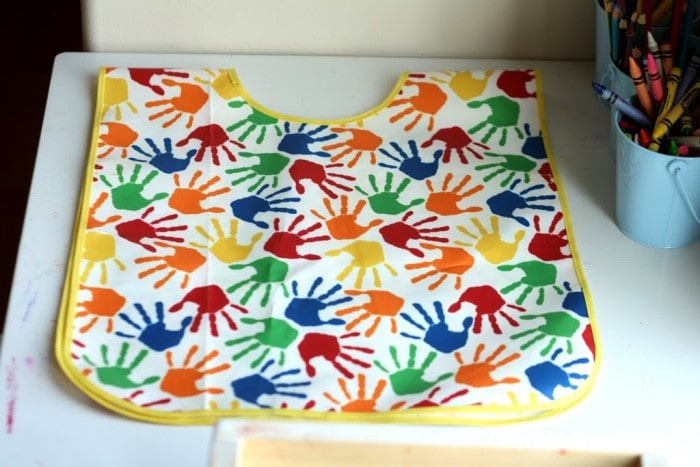
Your child’s art smock is complete! Now wasn’t that easy?!
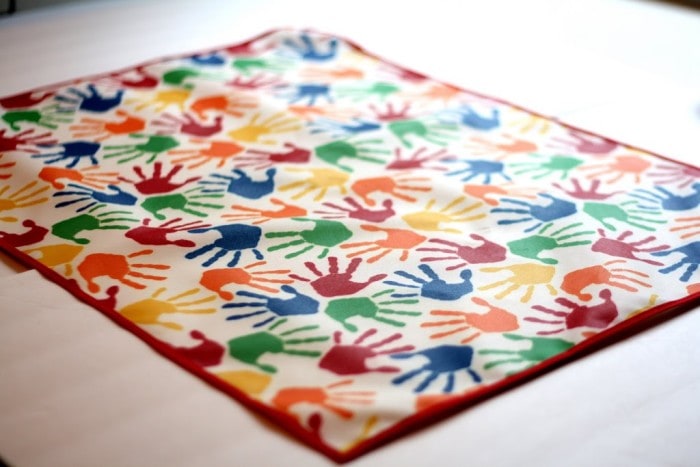
How to Make an Art Mat
If you have some leftover oilcloth, you have to make one of these mats. I think I’ve enjoyed this more than the smocks. It protects my tables from the dreaded mess of art projects. Thank goodness!
Your dimensions can be whatever you would like, but mine came to 24 x 18 inches, and it seems to be perfect for holding artwork and art supplies.
Your kids are going to love it, but probably not as much as you will!
More Ideas to Try!
Make sure to add this easy- to-clean child’s art smock and mat to your project list. Beginner friendly, adorable and useful – this art smock and mat are one of my personal favorites! Perfect for protecting your house and your child’s clothes.
If you’d like more great ideas, try one of these:
- Pumpkin Stamp – From a Toilet Paper Roll (For Make it and Love it)
- Felt Christmas Tree Craft for Kids
- Tissue Paper Tree Art | Fall Craft for Kids
- Easy No Sew Applique T-Shirts
- How to Dye Eggs with Food Coloring
- DIY Button Heart Keepsake
- How to make Dipped Beeswax Taper Candles with Old World Charm
- How to Make Vintage Sheet Music Garland | Frugal Christmas Decor Idea
- How to Make a Paper Angel Christmas Ornament (So Beautiful!)
- How to Make Yarn Wrapped Star Ornaments for Christmas
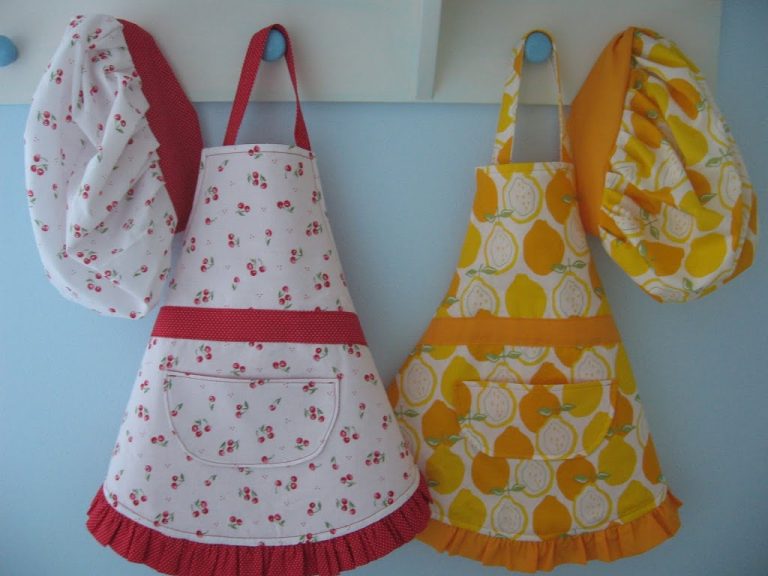
- Apron Patterns with Kid Friendly Design


Just be aware that almost all oilcloth sold has PVCs as it’s coated with vinyl – often this inludes BPA. We should ver very concerned about using this material for placemats, smocks, etc for little ones that have hands and wet hands on the material. If you are looking for a non pvc oilcloth, check out Heather Bailey. They have a laminate that is much safer.
Wow! So good to know! Thank you very much for sharing your knowledge. I am always concerned about such things and had no idea.
Popping over from Helping Little Hands — LOVE this! My little guy definitely needs one of these — thanks!
Could you please make a classroom full of these? Love it! I'm going to have to put my fashion class to work for my preschool class!!