
This post may contain affiliate links, which means I get a small percentage of the sale at no extra cost to you. I only recommend items I love and have had a positive experience with. Thank you!
Learn how to make the best mint extract at home. This mint extract is packed full of incredible flavor and can be made very inexpensively. Perfect for gifts or personal use – you won’t want to miss this!
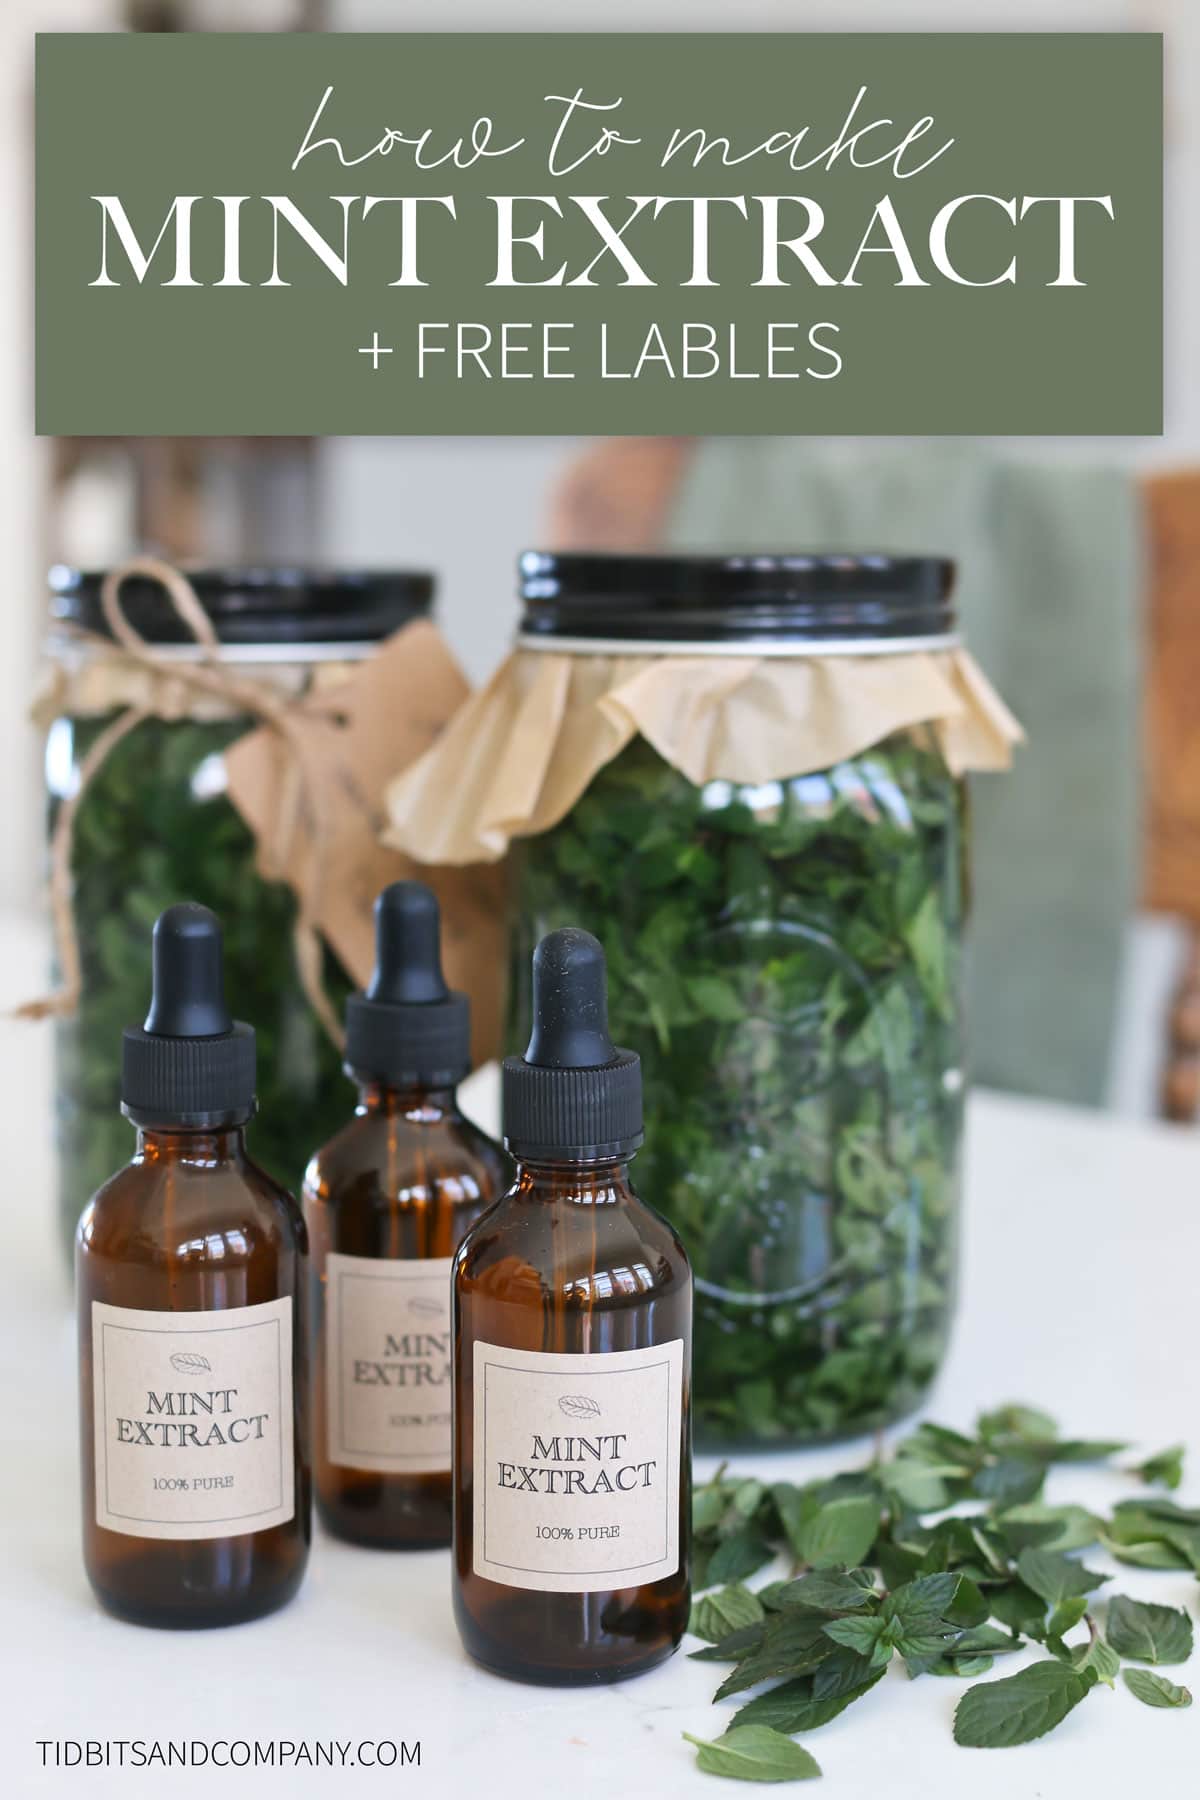
Homemade extracts are one of my favorite things to make and share. Have you ever tried making them yourself? I’ve got a recipe for lavender extract and another one for pressure cooker vanilla extract. Both of these extracts are amazingly flavorful and taste better than anything you can get at the store.
This mint extract is no exception. It’s totally delicious and can be used for all sorts of things. While this DIY mint extract looks and sounds really impressive, it’s deceptively simple make to make. Don’t worry – I won’t tell!
If you haven’t tried making your own extracts before, then today is the day! Let me show you how easy it is to make mint extract at home. I’m also including a printable homemade mint extract recipe card and some adorable printable bottle labels to make this project even better.
You’re going to love this stuff!
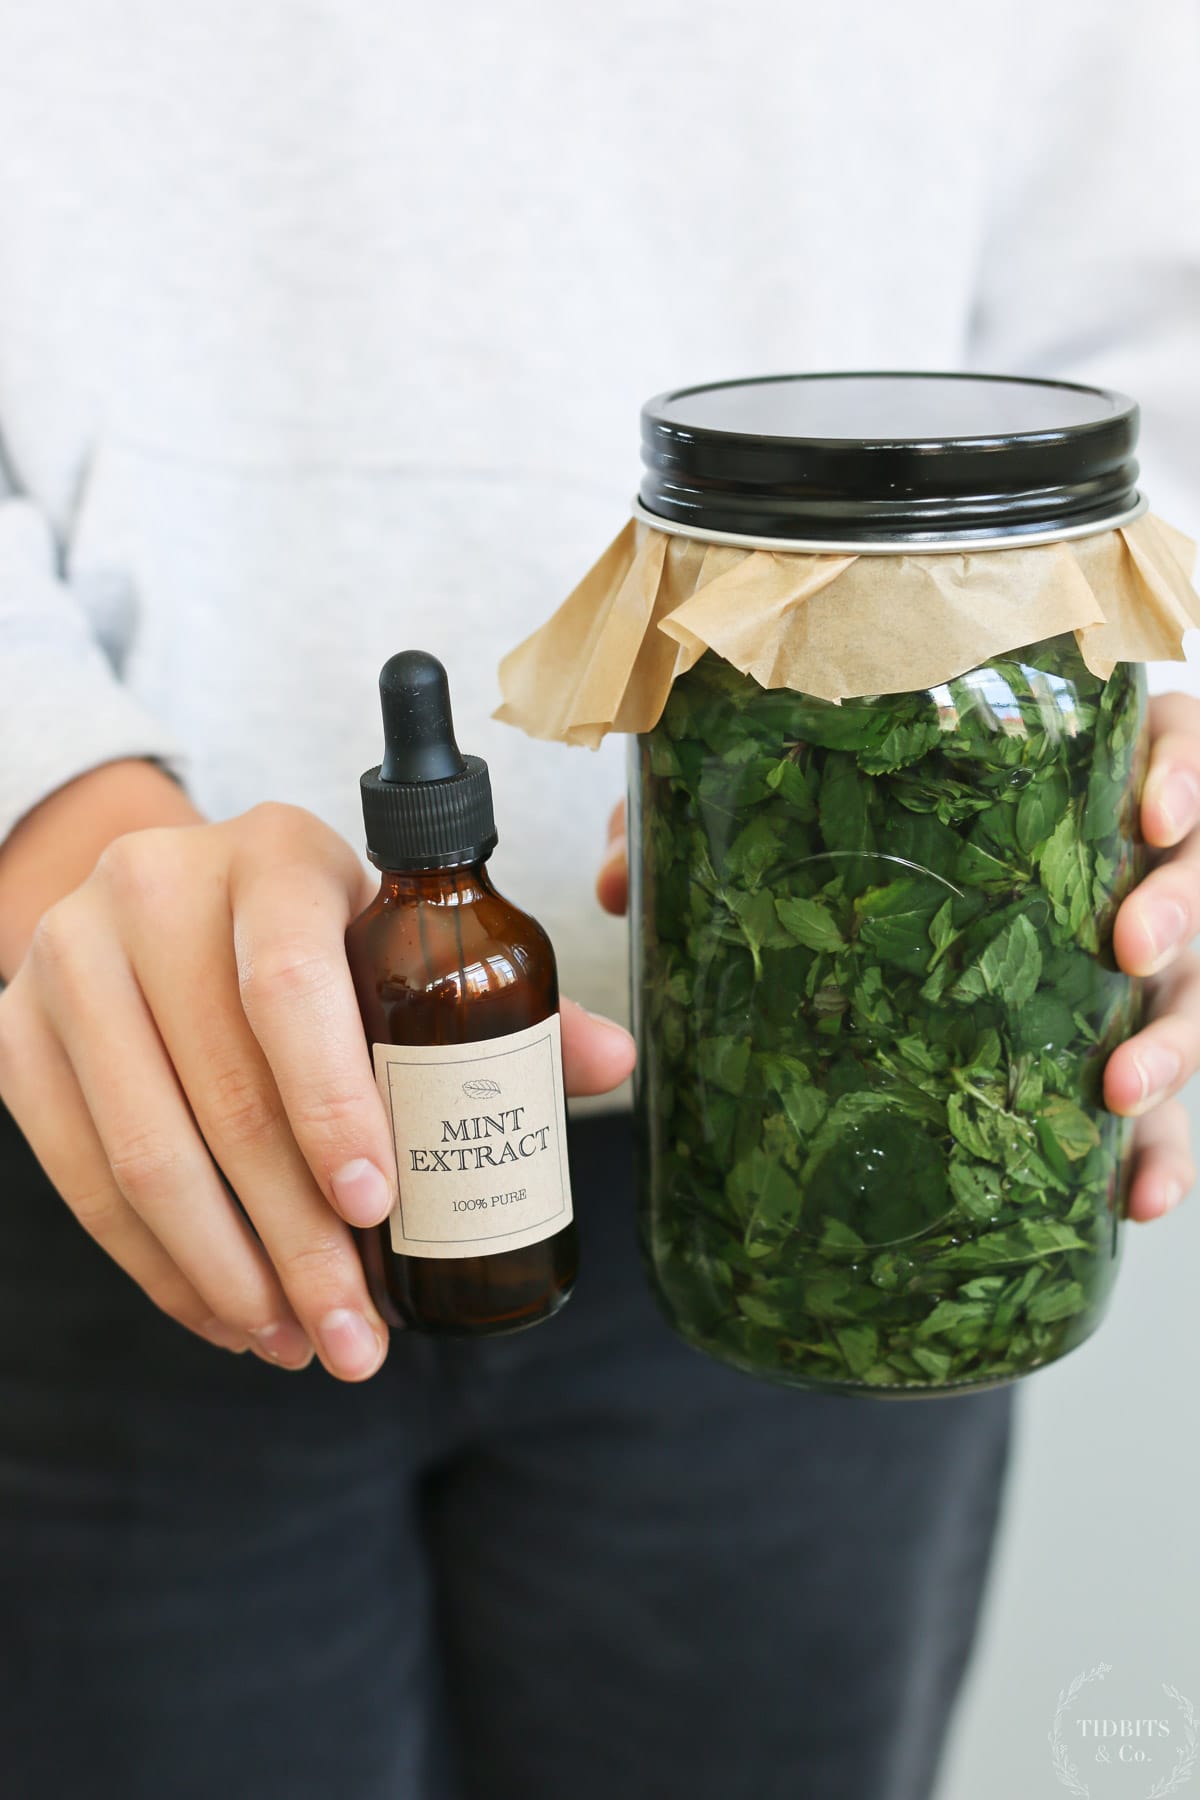
Table of contents
- Why You’ll Love Making Your Own Mint Extract
- How Homemade Extracts are Made
- Harvesting and Prepping Your Mint
- Equipment to Make Mint Extract
- Ingredients for Making Mint Extract
- Homemade Mint Extract Instructions
- Make Alcohol-Free Mint Extract
- Storing Your Homemade Extract
- Free Printable Labels – Perfect for Gifting!
- How to Download the Free Mint Extract Labels
- Printing your Label
- Mint Extract Variations
- What Can I Use my Homemade Mint Extract For?
- The Health Benefits of Mint
- Using Your Mint Extract Topically or as a Tincture
- FAQ’s
- Try Mint Extract in These Recipes
Why You’ll Love Making Your Own Mint Extract
Oh man, let me count the ways you’ll love making your own mint extract. Your homemade mint extract is:
- Cost effective – this extract can be make at a fraction of the cost of store-bought mint extract
- Customizable – you can control the strength of your mint extract
- Variable – you can try different mint varieties for specialized flavor
- Contains to extra additives – no surprises, you control the ingredients
- Full of health benefits – mint is great for your health and wellness
- Great for gifting – mint extract makes a perfect holiday gift
- Tastes amazing – store-bought extracts just can’t compare
- Easy to make – you can craft a batch of homemade mint extract with almost no prep time and very few ingredients
Homemade mint extract is basically the best. Need I say more?
How Homemade Extracts are Made
If you’ve ever had something like a homemade vanilla extract, you know how delicious homemade extracts can be. They’re also very simple to make.
Extracts are make by soaking a flavor agent such as herbs or fruit in a high proof alcohol or water and glycerin combination. Over time, the flavor and scent oils from your herbs or fruit are extracted and infused into the liquid, leaving you with a flavorful extract that you can use in many different ways.
Harvesting and Prepping Your Mint
Mint extract can be made using dried or fresh mint leaves. This recipe will focus on using fresh leaves, but if you plan to use dry leaves, simply reduce the amount of herbs called for by about one half.
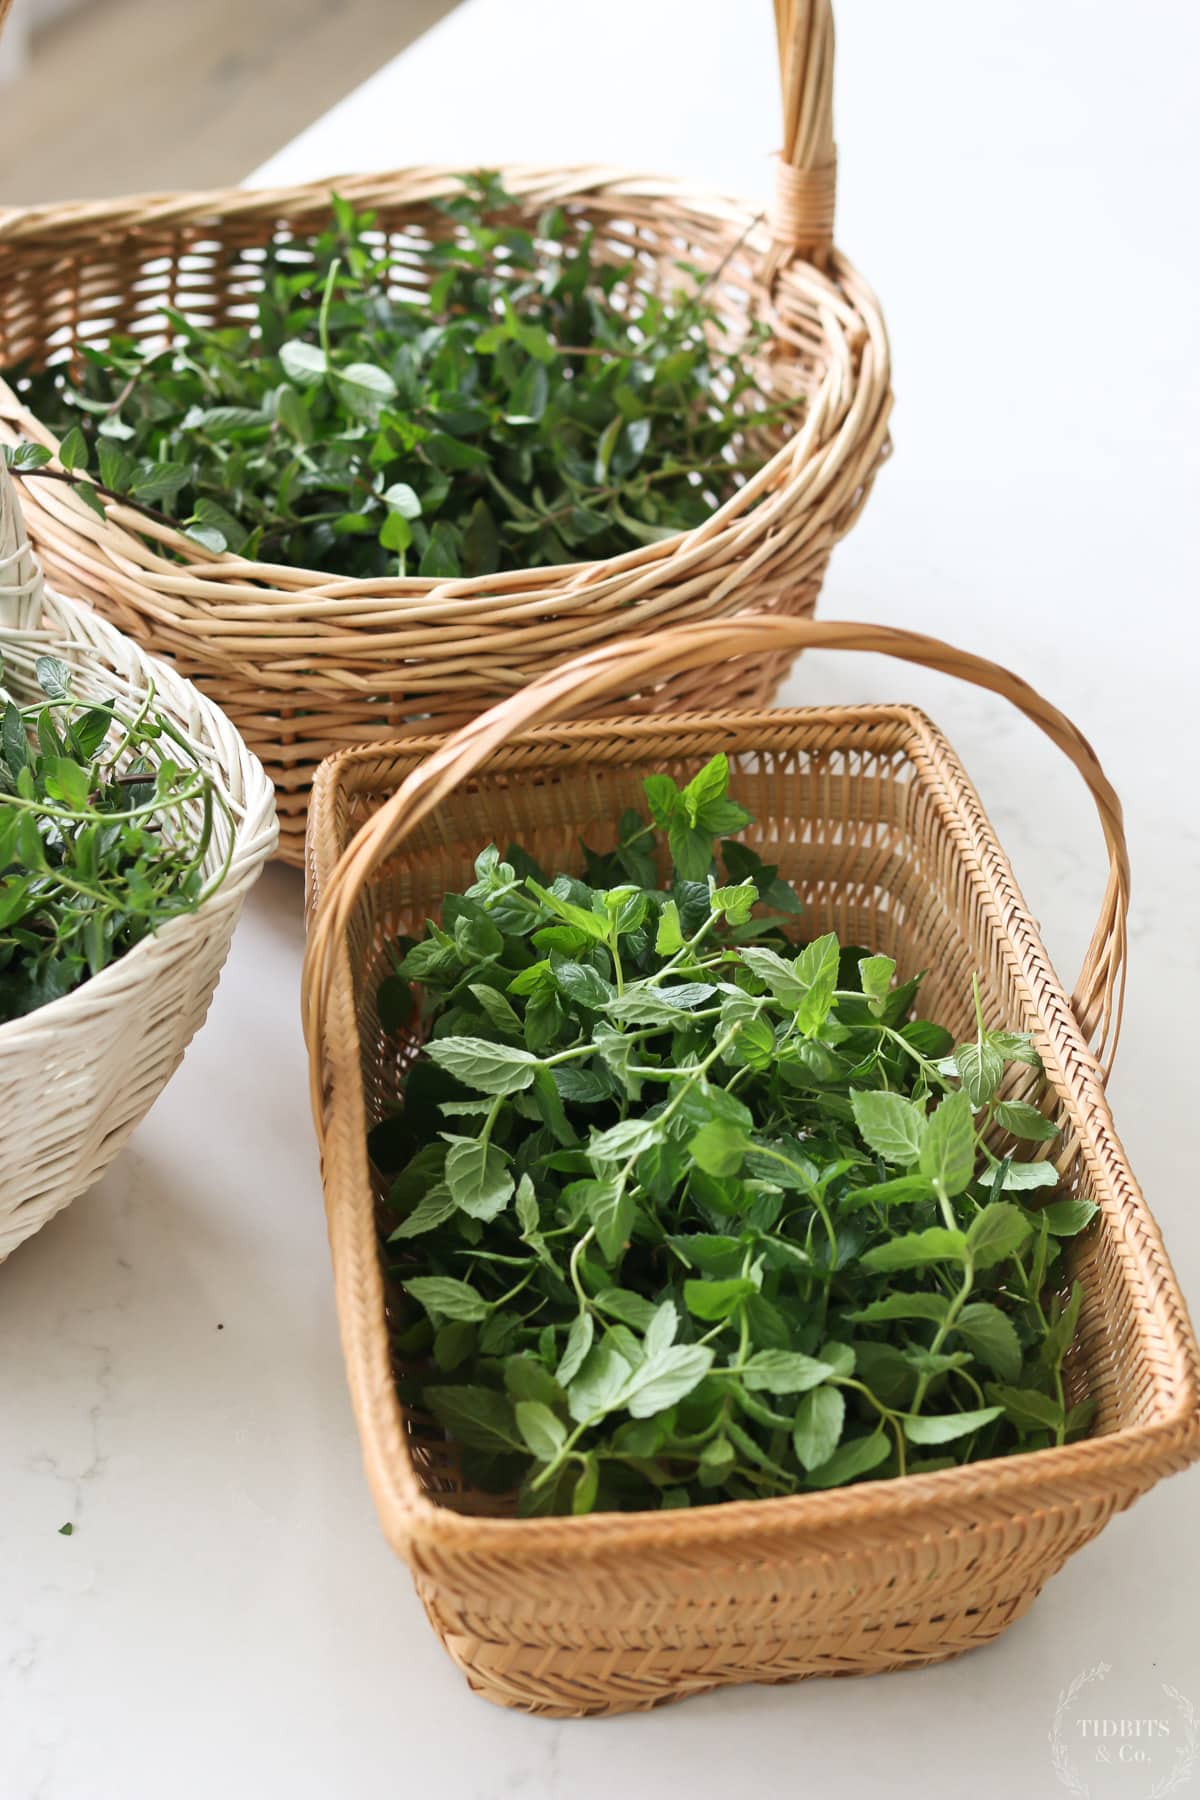
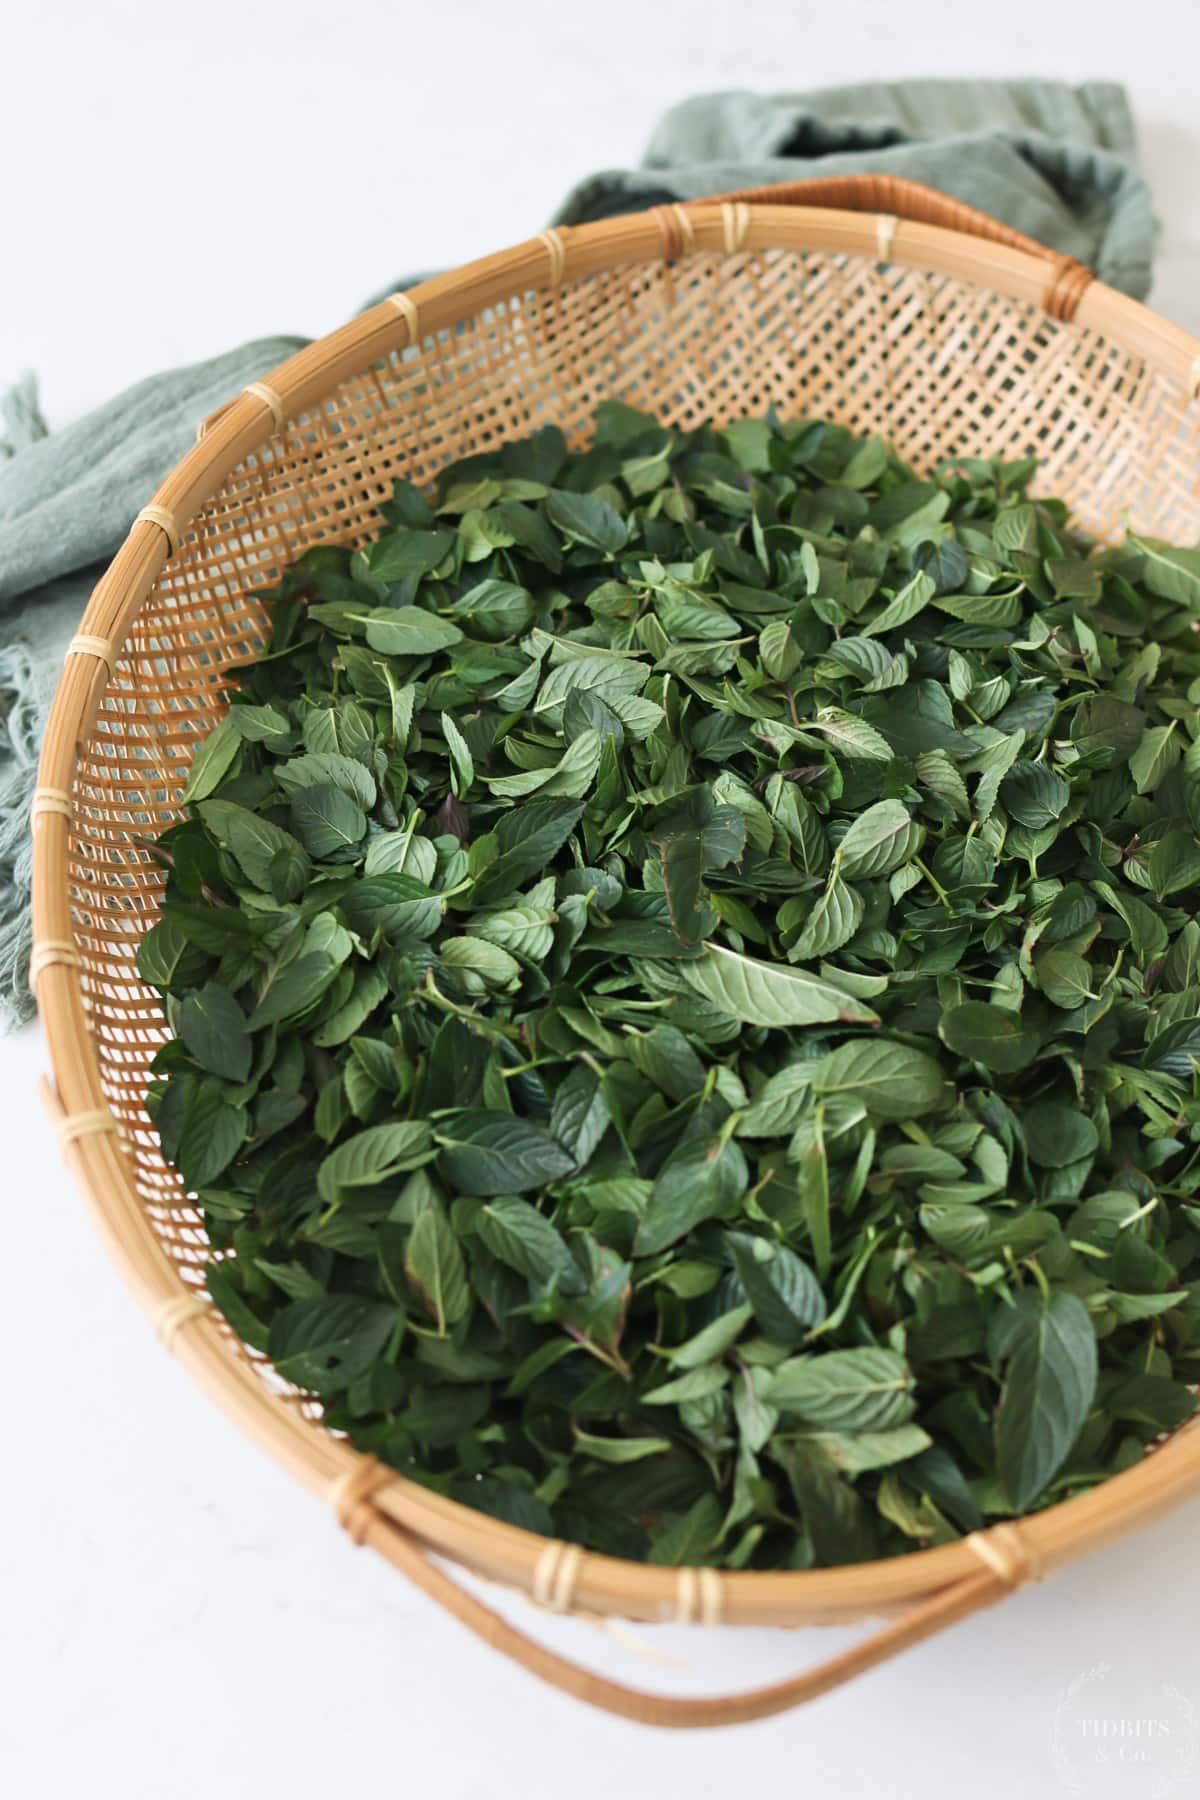
For those of you using your own fresh mint to make this diy mint extract, you’ll first need to harvest and prep your mint leaves.
I recommend harvesting your mint leaves in the morning when the oils are most potent. Simply trim off as many stems as desired. Mint is a very aggressive plant and grows back easily, so don’t feel bad giving it a really good trim.
If your mint needs it, go ahead and rinse it. If it’s clean, you may want to leave it alone so that you don’t lose any of that essential oil and flavor.
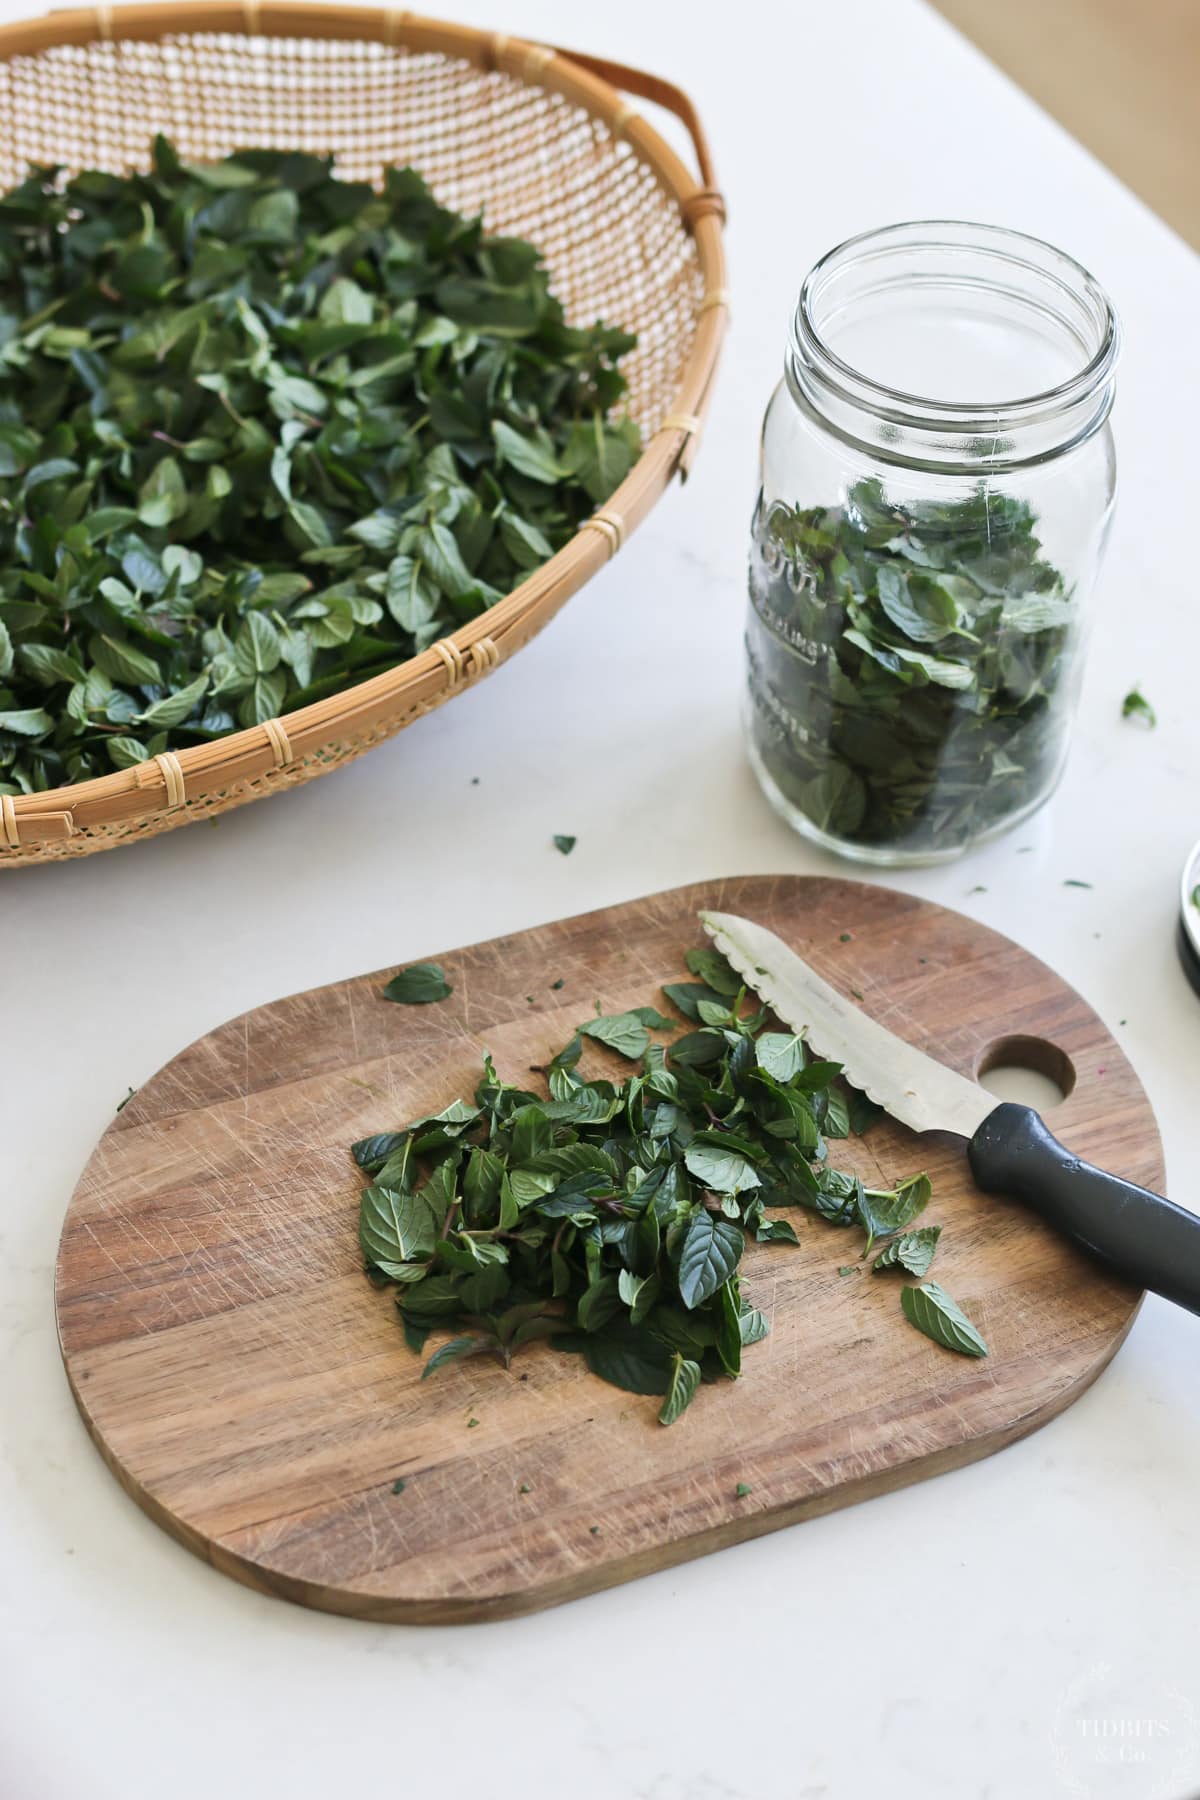
Separate the mint leaves from the stems. Rough cut the mint leaves with a knife or pulse in a food processor to help release the natural oils.
Equipment to Make Mint Extract
To make this homemade mint extract, you’ll need the following equipment:
- glass jars
- jar lids
- parchment paper
- labels
Ingredients for Making Mint Extract
You will also need the following ingredients:
- fresh or dried mint leaves
- vodka or other high proof alcohol
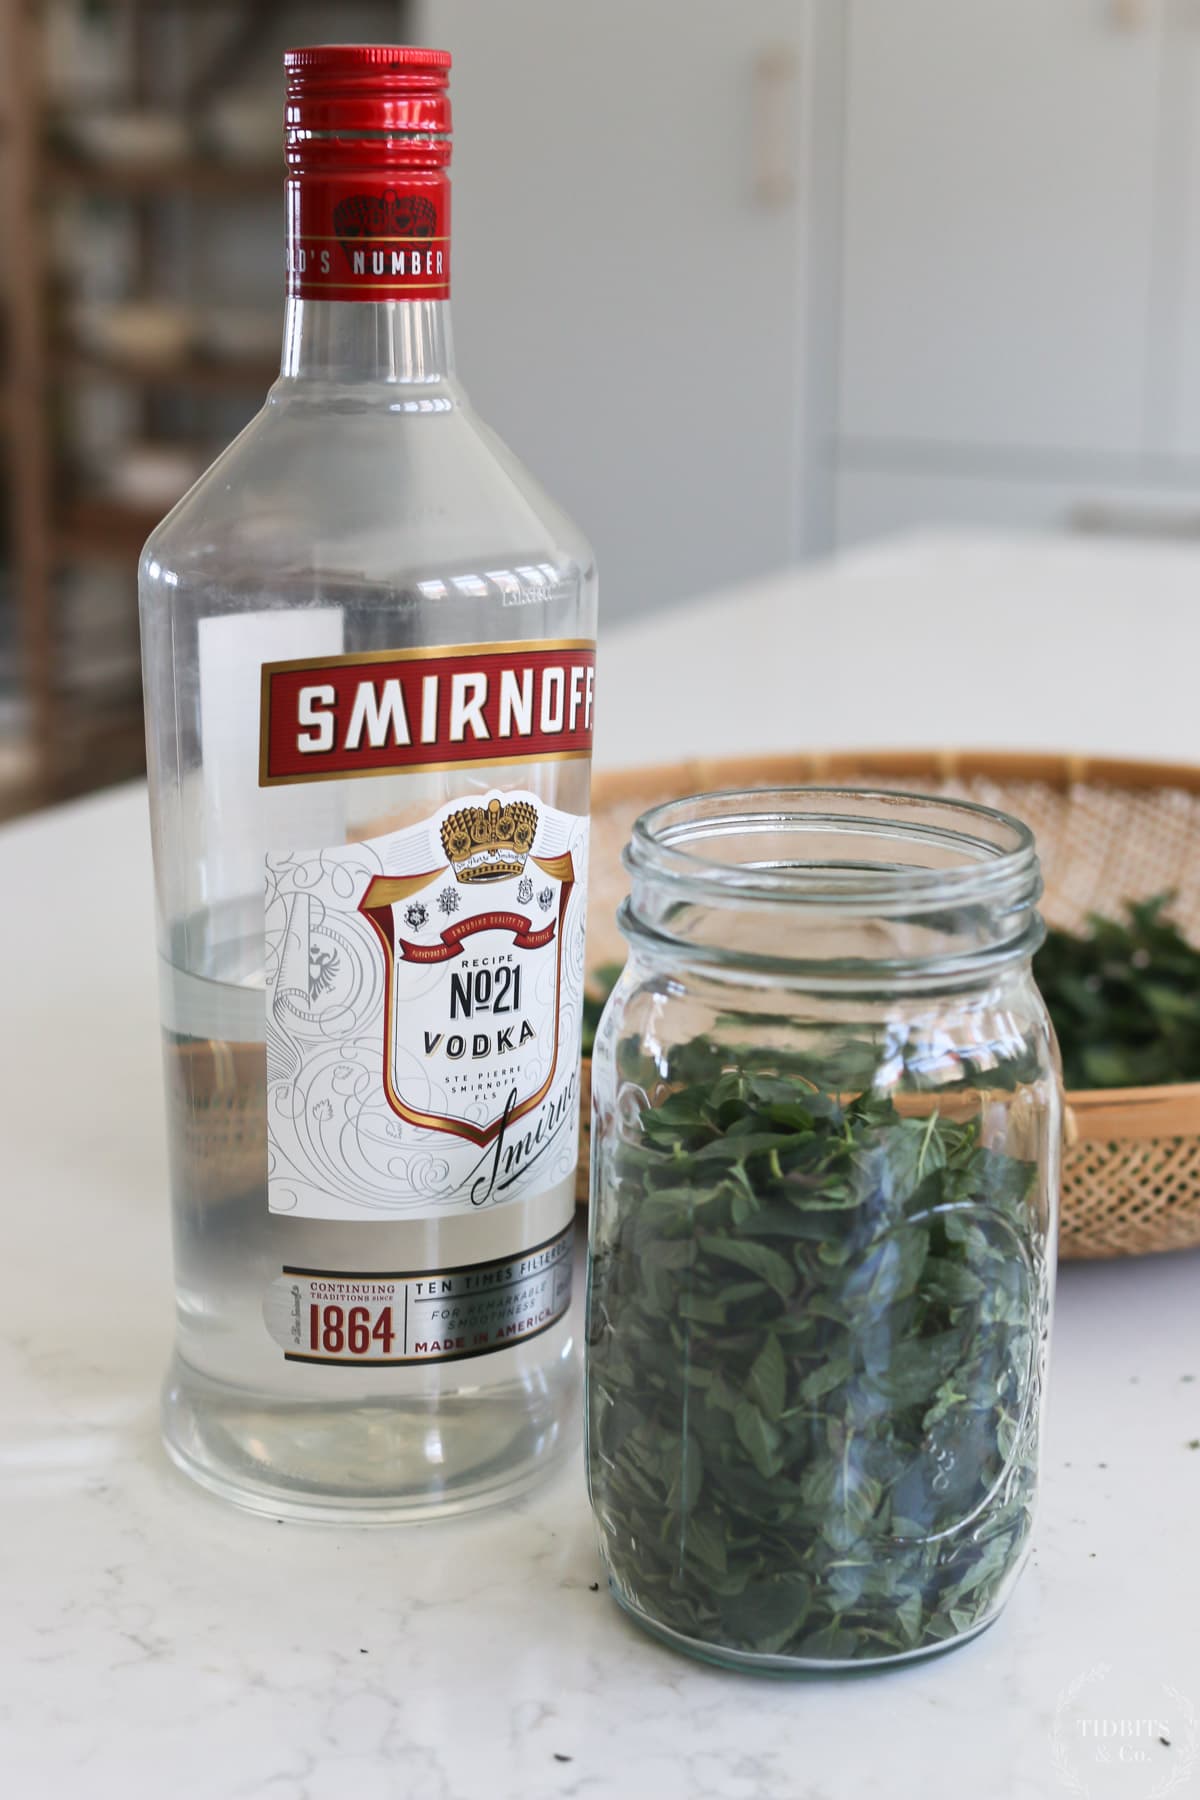
I prefer to use Smirnoff 80 proof alcohol when extracting herbs. Everclear is a popular choice, but it’s too strong for my liking. Rum or brandy would also work well for this DIY mint extract.
Homemade Mint Extract Instructions
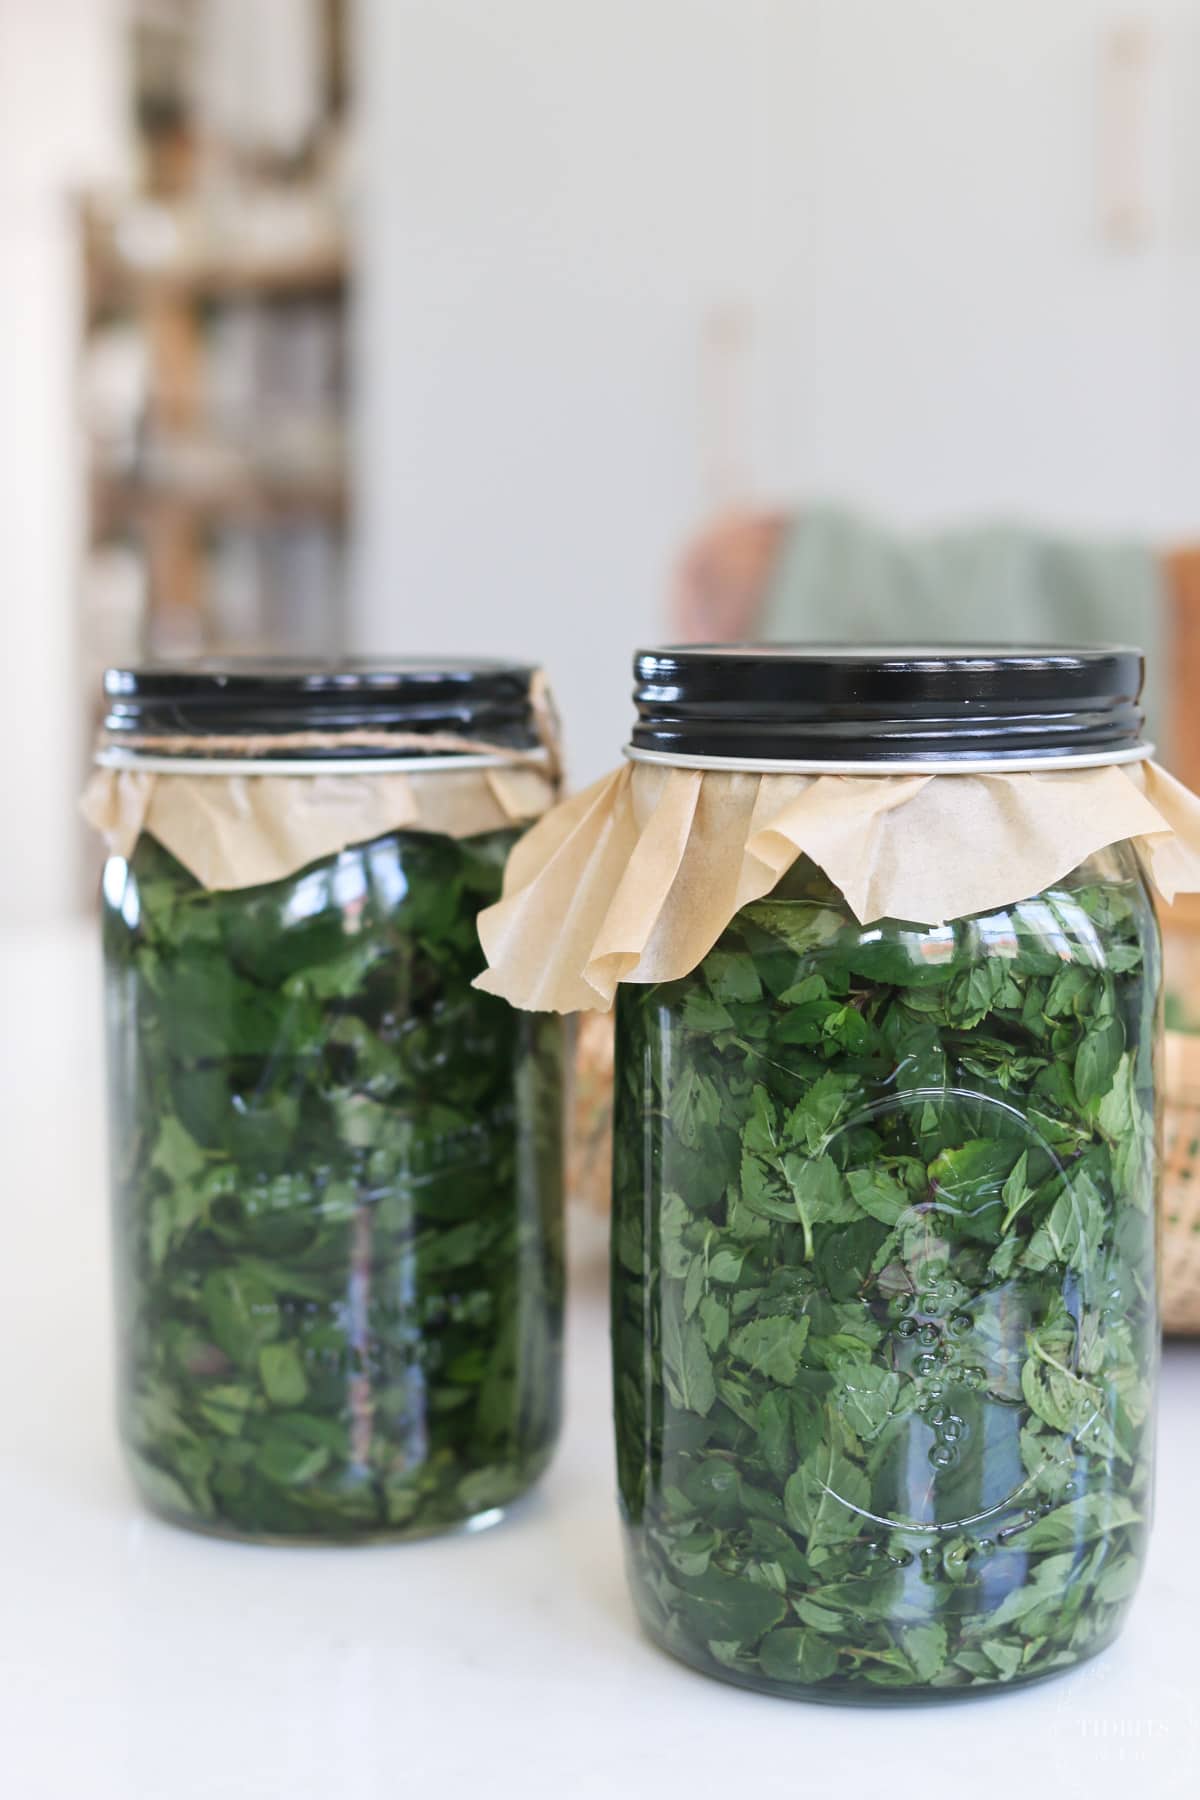
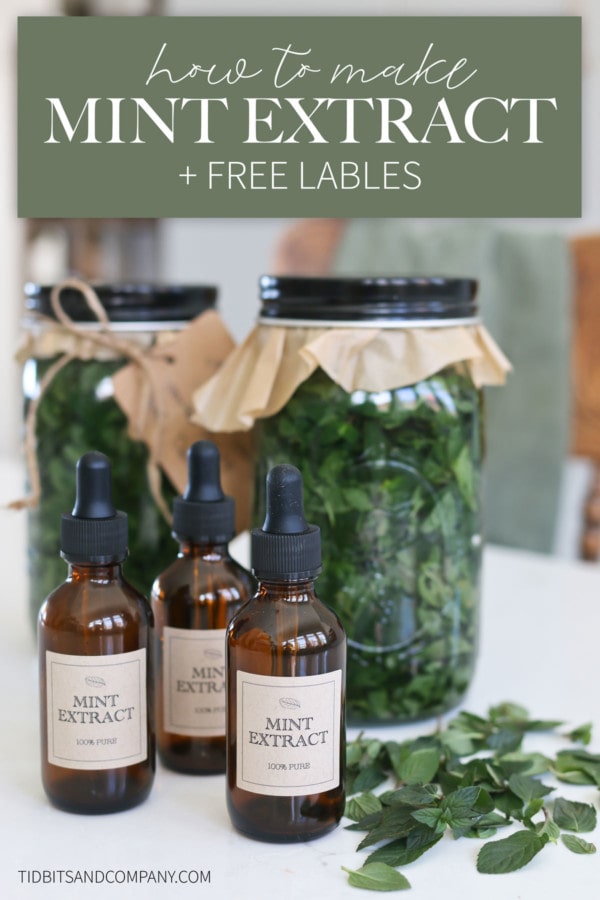
Fill a glass jar about 3/4 full of fresh mint leaves. Pour in your alcohol and fill the jar up covering the mint leaves, leaving head space for shaking. You can use something like a wooden spoon to push the leaves down and get them submerged in the liquid.
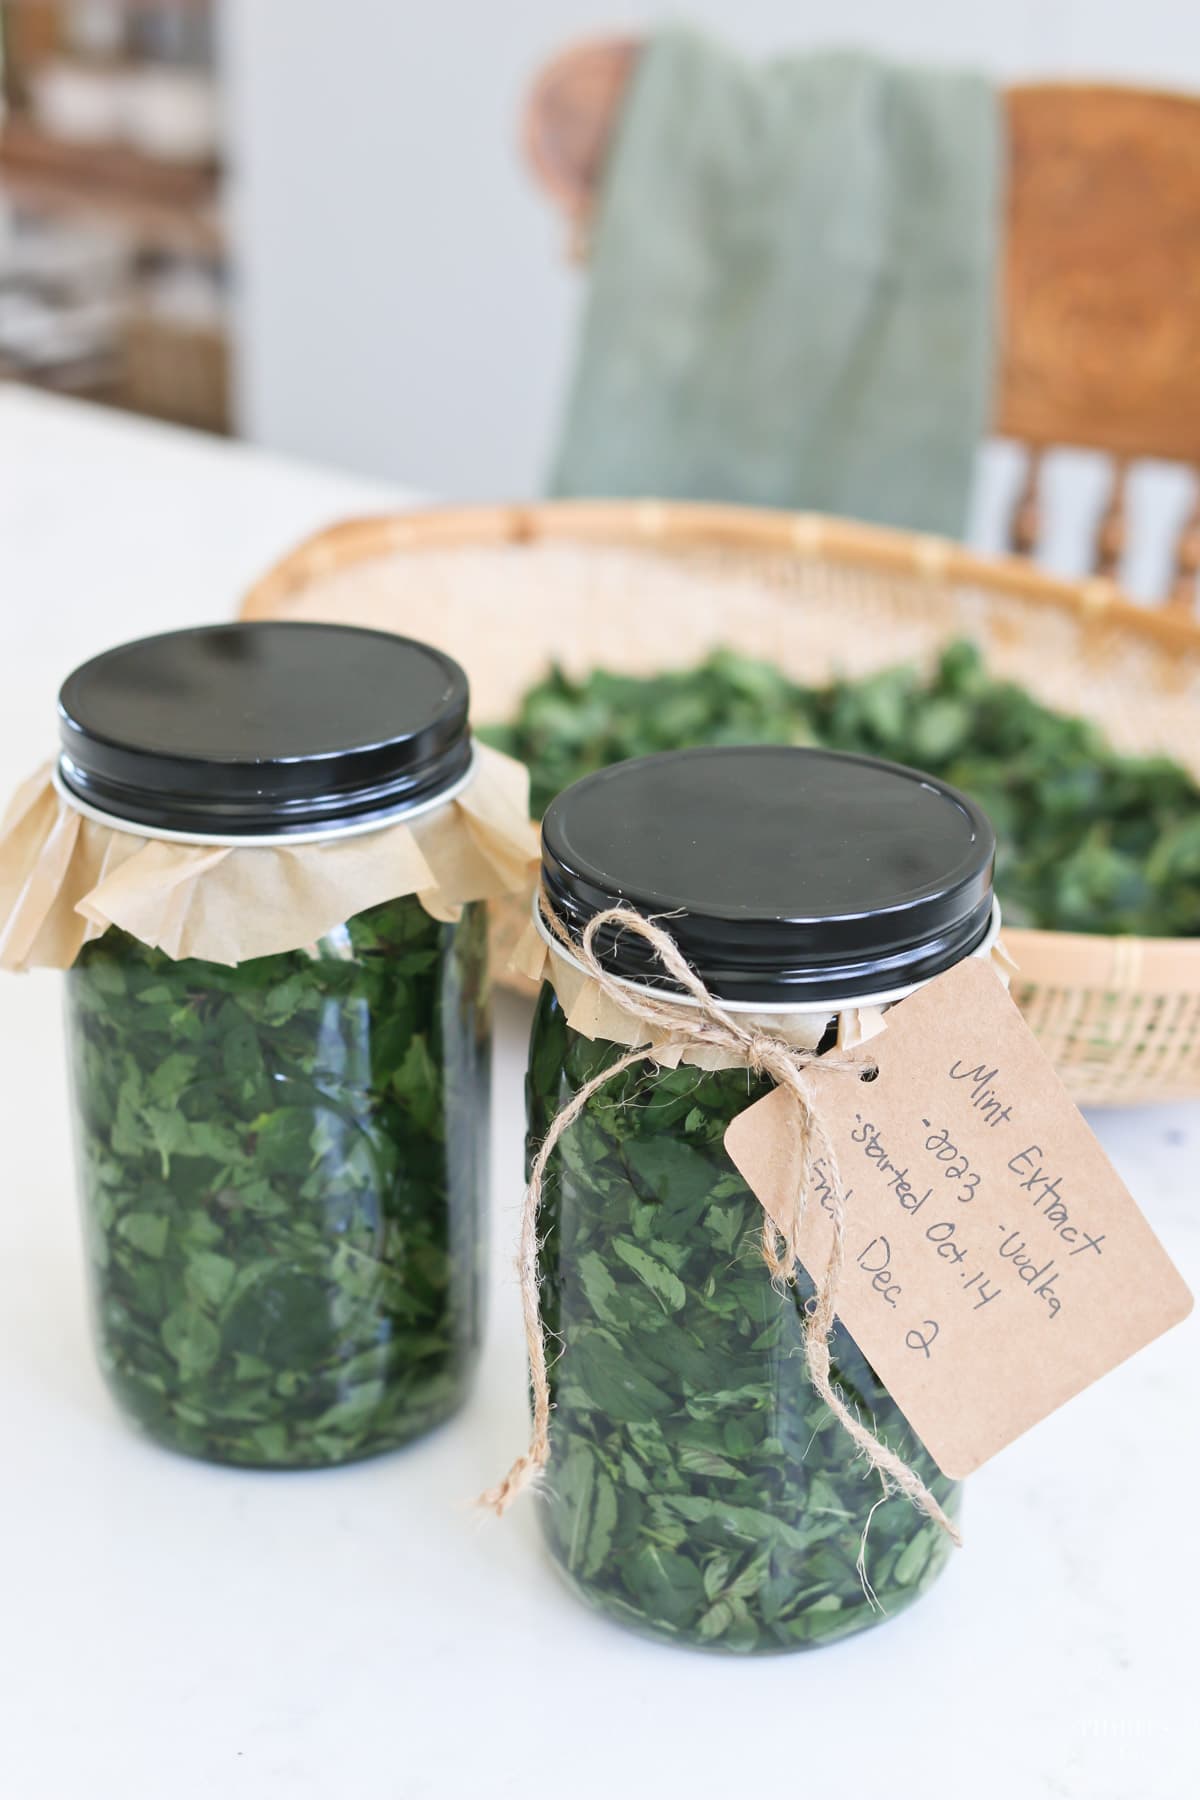
Place a piece of parchment paper between your jar and lid before sealing to prevent the alcohol from causing corrosion on the lid. You’ll need to shake the extract bottle every few days to mix up the contents.
I recommend that you put a disposable label on your bottle to help you remember the contents, with a start date and end date.
It should take about 6 weeks for your mint to extract. Longer extraction times will equal stronger flavor, so check you extract periodically to decide when you like the finished product.
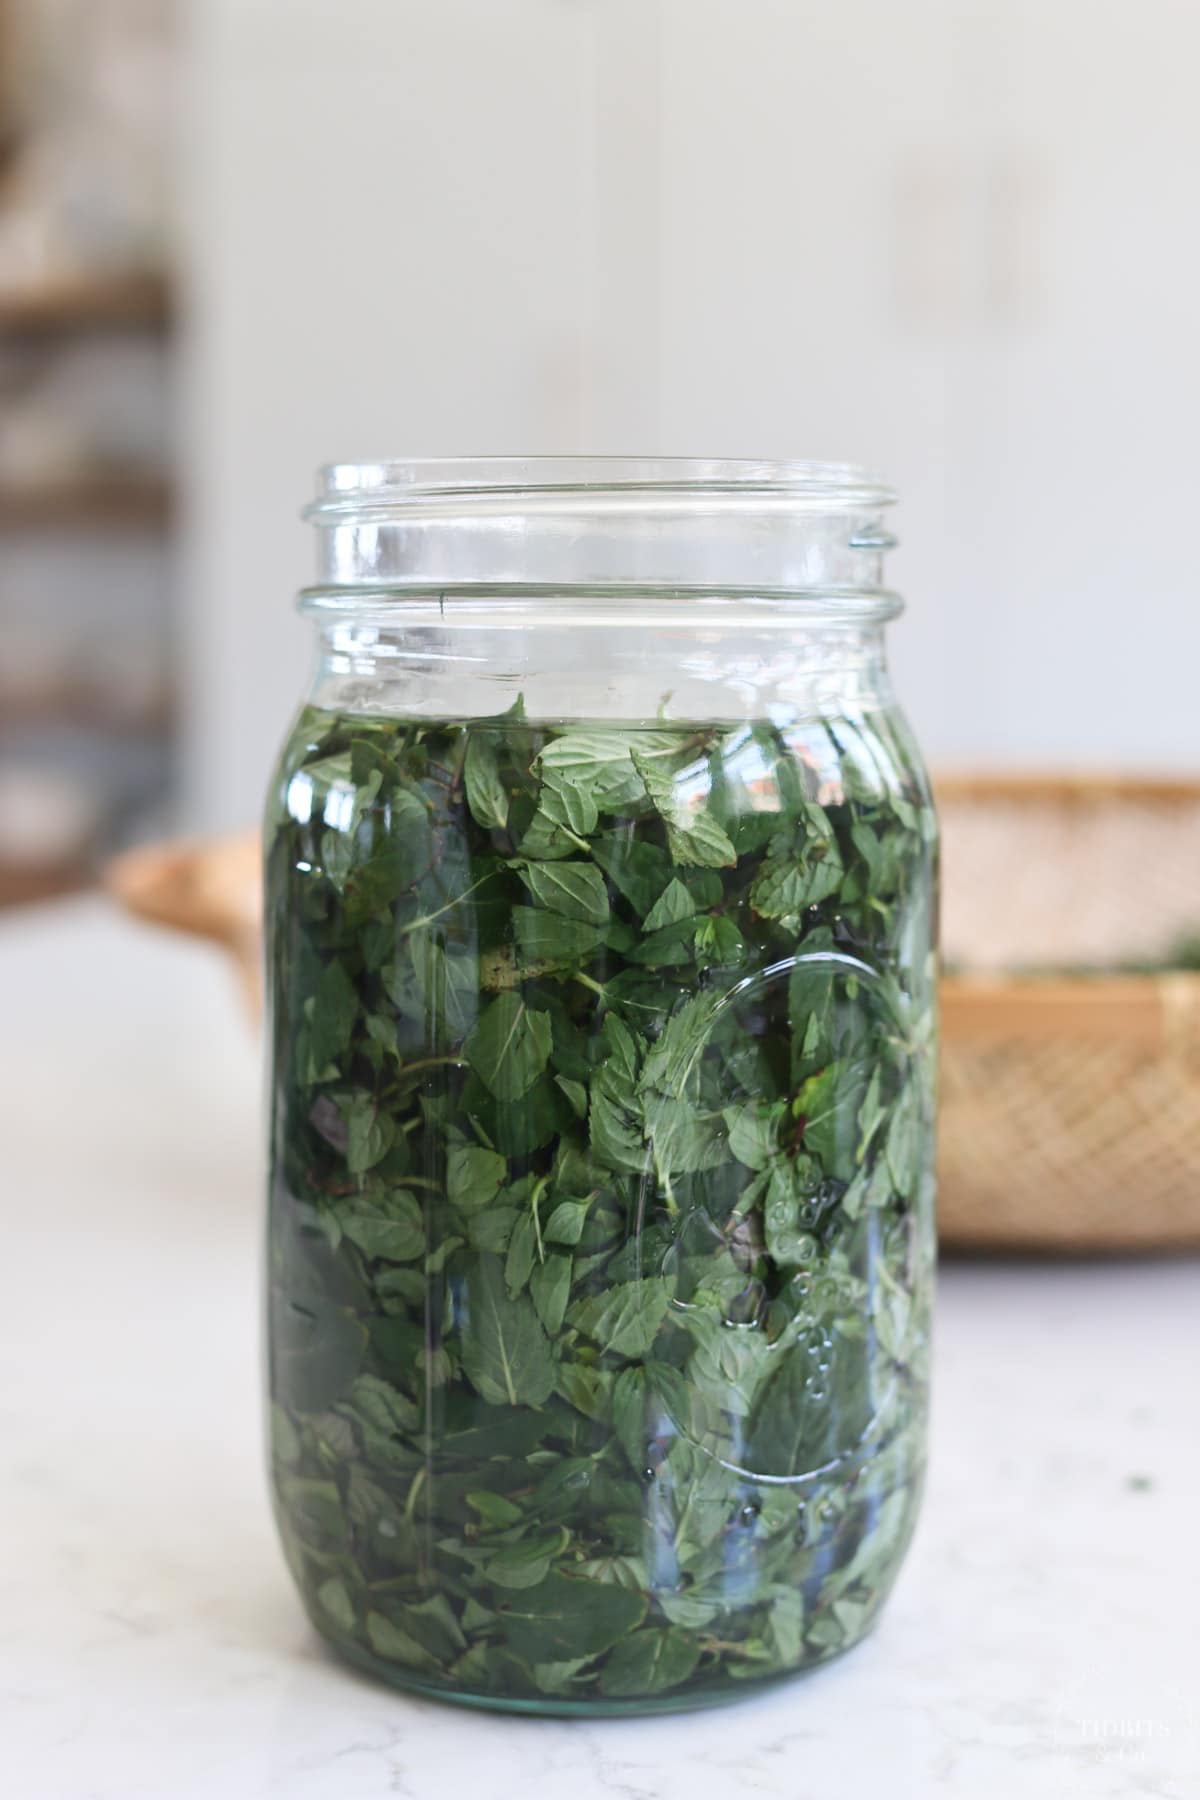
Don’t be alarmed if your extract turns brown or darkens in color. That’s normal.
Once your mint is done extracting, drain it with a fine mesh strainer or cheesecloth to remove the herbs. You can then transfer the extract to bottles that will be convenient for you to use, store or gift.
Make Alcohol-Free Mint Extract
You can make a non-alcoholic version of this mint extract if you prefer. For this version, you’ll need one part water and two parts food grade glycerin in place of the alcohol. The instructions are the same, but the extraction time is a few weeks longer. The shelf life of non-alcoholic extracts is shorter (usually about 1 year) than those of the alcoholic version (which can last many years).
You can see my lavender extract and tincture article for full details on making non-alcoholic extracts.
Storing Your Homemade Extract
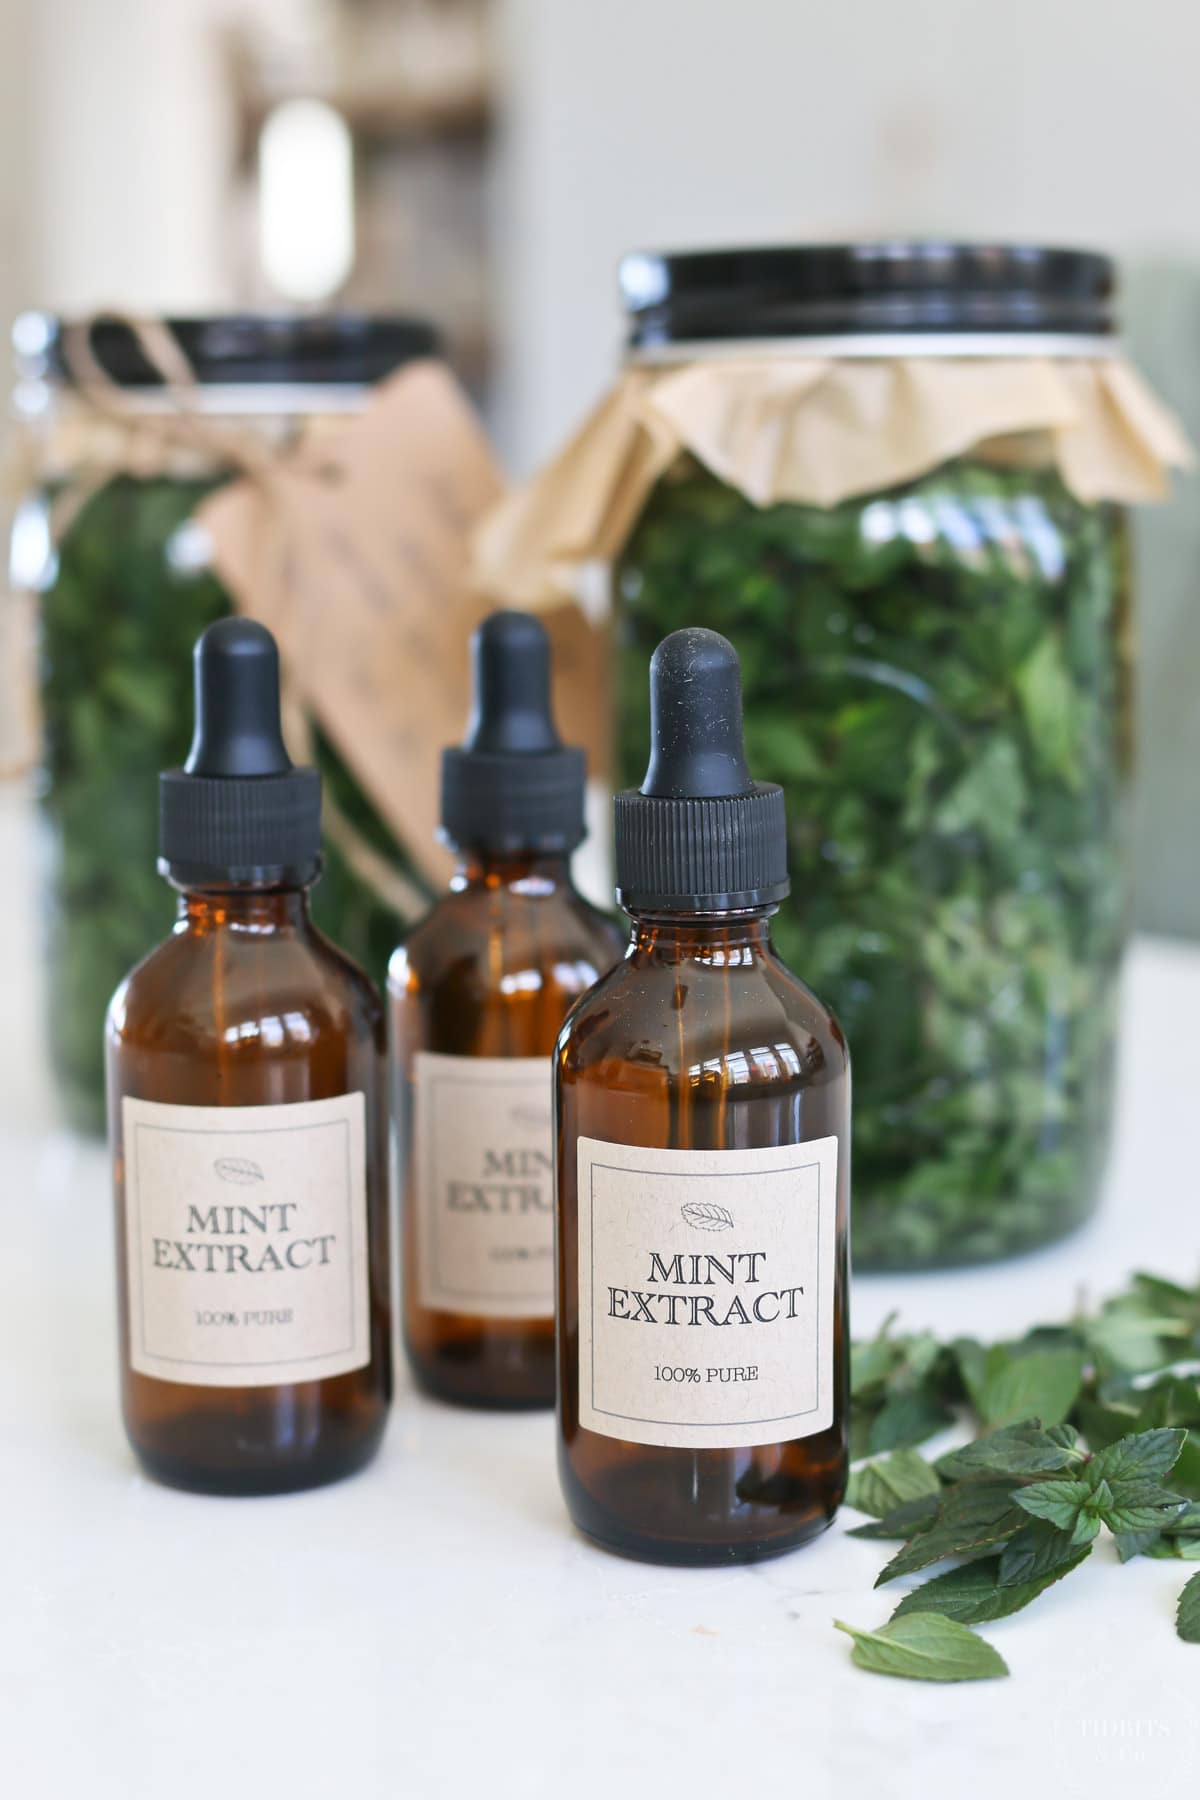
My favorite way to store homemade extracts is in amber dropper bottles. The 1 oz amber dropper bottles are the perfect size for bulk gifting. The 2 oz amber dropper bottles are nice for a larger gift and are what you see in my pictures.
Keep your extract bottles sealed and store them in a cool, dark place.
Free Printable Labels – Perfect for Gifting!
This DIY mint extract would make a wonderful gift. Try making a batch in bulk for Christmas. I’m sure your friends and neighbors would love to receive some and, as a bonus, you’ll look like a culinary super star!
You can also print your own cute mint extract labels like the ones you see on my amber dropper bottles. You’ll need some blank Avery labels to print on. I used 2 oz bottles with the 1.5″ x 1.5″ craft paper labels for my dropper bottles. This size would work well for the smaller 1 oz bottles as well.
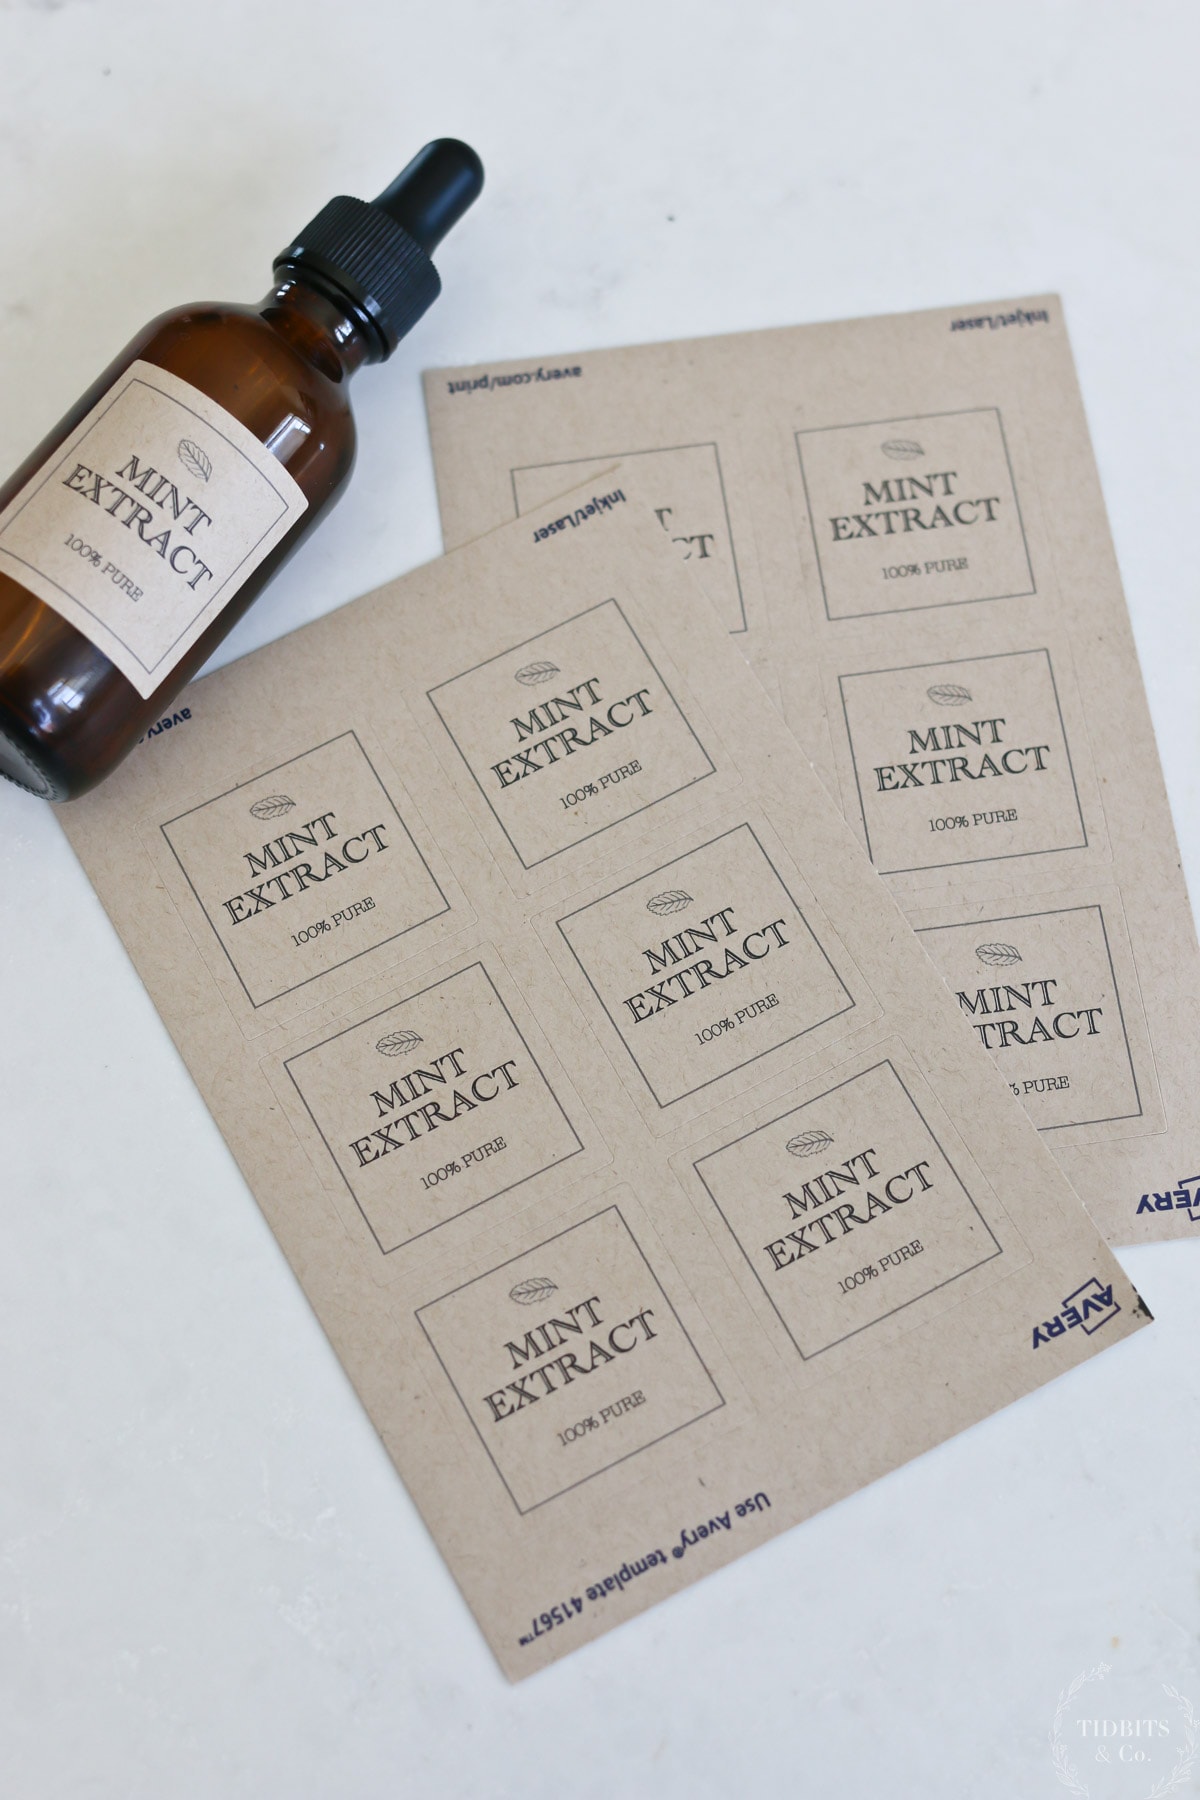
If you are using larger bottles, you could try 2″ x 2″ craft paper labels or 3″ x 3″ craft paper labels.
How to Download the Free Mint Extract Labels
All my free printables are housed in my TIDBITS SUBSCRIBER LIBRARY. Please sign up below to get instant access to this label and many more free printables!
*Already a subscriber? No need to sign up again! The link to the library and passcode are inside every weekly newsletter I send.
Printing your Label
I have found it best to use Avery.com to print labels. You’ll set up a free account, then you can upload my label design. Once onto the Avery website, you can adjust the size to fit whatever label you are using for your extract bottles.
Once your labels are ready, you can print them at home, send them to a print shop, or have Avery print them for you.
Click over to see my step-by-step instructions on how to print with Avery Labels.
Mint Extract Variations
One of the best things about making your own mint extract is being able to experiment with variations. There are many different types of mint – chocolate mint, spearmint, peppermint, even apple mint and pineapple mint. Choose your favorite! Just be sure to double check that whatever mint you are using is food grade.
What Can I Use my Homemade Mint Extract For?
You are going to love putting your mint extract to use! It’s great for so many things!
Baking and Cooking
Delicious mint recipes are not hard to come by. There are many recipes for ice cream, brownies, and cookies that use mint extract. Wouldn’t your hot chocolate or tea taste amazing with a touch of mint flavoring? Minty desserts are calling your name!
Gifts
Your homemade mint extract would make a fantastic gift! You can make a large batch of extract to share with friends and neighbors. It’s an inexpensive way to give something really special. Don’t forget your printable labels!
Aromatherapy
Mint has a wonderful scent. You can add mint extract to a warm bath, mix it with a carrier oil for massages, or add a few drops with water to a diffuser. Most people find mint to be a very pleasant smell.
Health Aid
Mint isn’t just for flavor and smell, it’s also great for your health. Using it may benefit you in a number of different ways.
The Health Benefits of Mint
The health benefits of mint shouldn’t be overlooked. Healthline has a great article that discusses some of the health benefits of mint. Some of them might surprise you!
Digestive Aid
Mint can help relieve symptoms of indigestion like discomfort, pain and bloating. It can also help reduce feelings of nausea.
Headache and Stress Relief
The scent of mint can be soothing. Many people find that it is helpful in reducing stress. Some people also find that the scent of mint it can help relieve headaches and migraines.
Skin Treatment
The antibacterial properties of mint make it great for the skin. Mint may help soothe irritated skin and decrease breakouts.
Respiratory Health Aid
The menthol contained in mint may be helpful for relieving respiratory symptoms associated with colds or flues. Many people believe it soothes sore throats and helps reduce coughing. It is may also help relieve symptoms of nasal congestion.
Improved Oral Health
Mint oils contain antibacterial properties. Consuming mint may help freshen breath and promote healthy gums and teeth by reducing the amount of bacteria in the mouth.
Using Your Mint Extract Topically or as a Tincture
Because mint is soothing to the skin, you can apply a few drops to irritated or inflamed skin. Start with a small area to test for your tolerance.
You can also use your mint extract as a tincture for good digestion and other health benefits. To do this, drop a few drops under your tongue each day or add a few drops to water or tea.
Disclaimer: I am not a trained medical professional and these claims have not been evaluated by the FDA. Please consult with your doctor about any herbs or herbal remedies you may be interested in trying.
FAQ’s
For an extract made with alcohol, you should expect a 2-3 year shelf life. The non-alcoholic version will have a shorter shelf life of 6 months to a year.
Yes. The flavor profiles will be a bit different depending on what type of mint you used, but you can substitute this mint extract for peppermint extract in any recipe. You can use the instructions in this article to make any kind of mint extract.
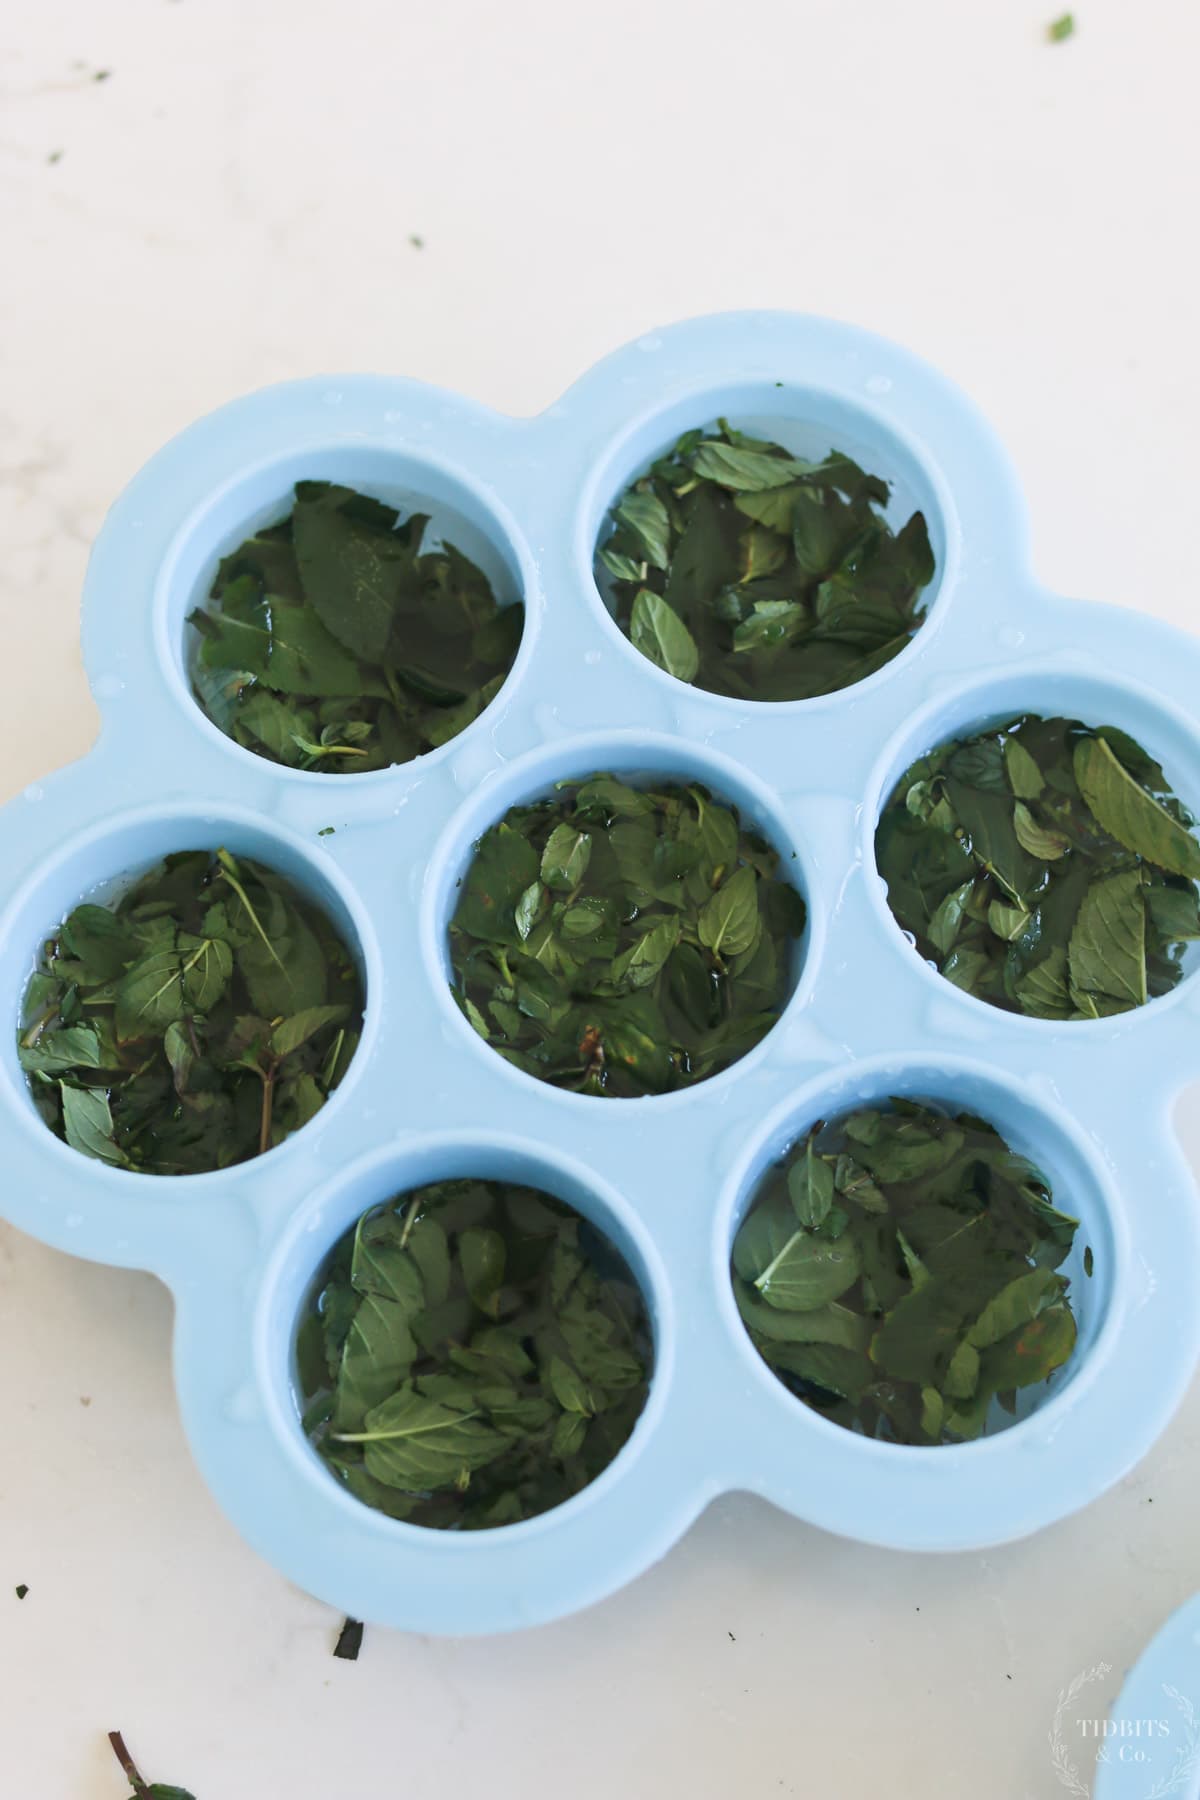
If you have extra mint leaves, you can dry and crush or pulverize them for later use. You can also freeze extra fresh mint leaves with water in an ice cube tray to pop into smoothies or drinks later on.
The mint flavor of your extract will get stronger the longer it sits in the extraction phase. If you want a stronger flavor, simply give it extra time. Check your mint extract every few days until you are happy with the results.
Of course. This recipe works with ratios. You can easily scale it up to any size batch that you have enough ingredients for. The instructions stay the same.
Yes. If you are using dry herbs, you’ll only fill your jar up to about 1/3. You may need to go back the day after starting your extract to add a little extra liquid to account for the amount that the dry herbs absorbed. Extract made from dried mint won’t taste quite as fresh, but it’ll still make a great extract.
Try Mint Extract in These Recipes
Now, it’s time for you to use your new mint extract! How about adding a dash to one of these yummy recipes?
- Frozen Crio Bru
- Yummy Healthy Hot Chocolate Mix Recipe – No Added Sugar!
- Frozen Whipped Cream Dollops
- 20+ Uses for Mint and Delicious Mint Recipes
- Chocolate Mint Layered Fudge Pop Recipe
And while you’re at it, throw in some braided sugar cookie sticks to enjoy on the side. Have fun with your minty adventures!
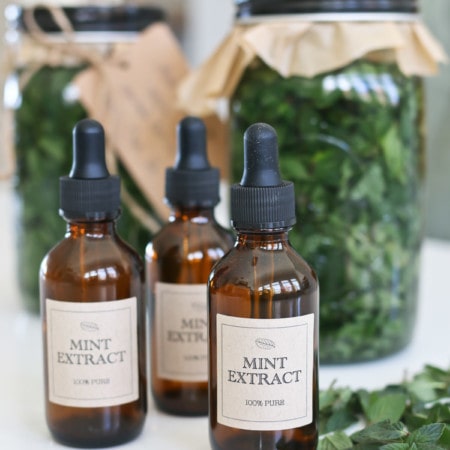
100% Pure Mint Extract
Equipment
- glass jars with lids
- parchment paper
- labels
Ingredients
For Mint Extract made with Alcohol
- 80 proof Smirnoff vodka or other high proof alcohol
- Fresh or dried mint leaves
For Mint Extract made with Glycerin and Water
- Food grade glycerin
- water
- Fresh or dried mint leaves
Instructions
For Mint Extract made with Alcohol
- Fill your clean glass jar with mint leaves. If using fresh leaves, fill jar 3/4 of the way up. If using dry leaves, fill jar 1/3 of the way up.
- If using fresh mint, pour your alcohol into the jar up to the level of the mint leaves. Leave some headspace for shaking.If using dry mint, pour your alcohol in up to the 3/4 of the jar. You'll likely need to come back the next day to add more alcohol due to absorption from the dry herbs.
- Place parchment paper between the jars and lids and seal.
- Allow your mint mixture to extract over the next several weeks. Extraction time should be about 6 weeks, but check your mint extract often to see if you are happy with it. Longer extraction times equal a stronger extract.
- When your mixture is done extracting, strain out the herbs and transfer your mint extract to bottles that will be convenient for you to use. Label your bottles.
- Store your mint extract in a cool place away from direct sunlight.
For Mint Extract made with Glycerin and Water
- Fill your clean glass jar with mint leaves. If using fresh leaves, fill jar 3/4 of the way up. If using dry leaves, fill jar 1/3 of the way up.
- If using fresh mint, pour in 2 parts food grade glycerin and 1 part water, until your jar is about 3/4 full, leaving head space for shaking.If using dry mint, pour in 2 parts food grade glycerin and 1 part water until your jar is about 3/4 full. You may need to come back the next day to add more glycerin and water due to absorption of the dry herbs.
- Seal the jars.
- Allow your mint mixture to extract over the next several weeks. Extraction time should be about 6 weeks, but check your mint extract often to see if you are happy with it. Longer extraction times equal a stronger extract.
- When your mixture is done extracting, strain out the herbs and transfer your mint extract to bottles that will be convenient for you to use. Label the bottles.
- Store your mint extract in a cool place away from direct sunlight.









Hi! Loving your page!! Can you tell me if you could add this to drinks? Or would a simple syrup work better? Also, what about if there are kids around that might have some. Is it ok to use in baked goods?
Hi Jamie! I would definitely use a simple syrup for drinks instead. Where it has alcohol, using it in baked goods is preferred.